Archive for the ‘Uncategorized’ Category

Statuses

Annual Editor’s Update

In Uncategorized on February 5, 2014 by nicholasandrewray

Annual Editor’s Update

Dear INAV Reads and Contributors,

It has been a little over a year since INAV was resurrected and reconstituted as a digital publication. INAV is currently being read by more people than ever before. The increase in readership is largely due to a growth in international readership. Approximately 60% of INAV readers now reside outside the United States.

In the coming year I will continue to work to ensure that INAV’s content increasingly grows to reflect its international readership. To reach this goal, I ask that everyone who reads INAV ask themselves what is going on where they fly that others might like to read about. What seems normal in one part of the world may be quite novel elsewhere.

I am pleased to announce that all of the content INAV has published in its 53 year history is now available online, free of charge, on our downloads page. Efforts have been made to make these documents searchable, though in several cases the poor quality of the original documents has led to PDFs that cannot be searched accurately. We are currently creating a PDF of the material published this passed calendar year. It will made available in the downloads section when it is complete.

Furthermore, INAV’s financial situation has stabilized. At the close of Abram Van Dover’s time as editor and publisher, Abram donated the remaining funds held by INAV to the National Free Flight Society. When I took over INAV, there was no operational budget. With the help of John Kagan, we have been able to secure annual funding for INAV through the National Free Flight Society, which covers the cost of running the website.

I want to thank all the authors who have made INAV possible this past year. I am looking forward to hearing more from you all, as well as reading new authors for the first time. I would also like to thank Nick Aikman, Mike Kirda, Tony Pavel and Jeff Hood for aiding me in searching out and soliciting content, in addition to writing articles. Thanks to its authors and readers, INAV has much to look forward to in this coming year.

Regards,

Nick Ray, Editor

Statuses

A New Indoor Flying Publication

In Uncategorized on February 2, 2014 by nicholasandrewray

A New Indoor Flying Publication Titel_Saalflug
Author: Heinrich Eder
Title: Alles über Saalflug
Vom Gummiantrieb bis zum Micro-RC-Modell
(All about indoor flying –
from rubber drive to RC-Micro-Models
with 20 plans for indoor models)
only available in German
Publisher:
Verlag für Technik und Handwerk (VTH), Baden Baden, 2014
ISBN 978-3-88180-455-4
Euro 24,80

Statuses

A quick note on using polyimide tubing

In Uncategorized on February 1, 2014 by propblocks

A quick note on using polyimide tubing

By: Mike Kirda

I can’t make tissue tubes consistently to save my life. I can make a dozen just to get one that fits. Then I go to replace a component and discover it won’t fit due to different size tissue tubes. Frustrating to say the least.

I believe I first heard about Polyimide tubing from Jake Palmer. He sent me some and I immediately fell in love with the stuff. You can get in all kinds of sizes. Amazon Supply is probably the easiest source. Various medical supply houses can supply others – A quick search on Google will find you several suppliers.

So what is it and why is it better?

Single and double wall - Double is much darker

Single and double wall – Double is much darker

The tubing is straight, strong, light and consistently sized. For the non-chemists, it is kind of like plastic/nylon tubing, but thinner. It will come in three wall sizes, they call it single, double and triple wall – Essentially 0.00125, 0.0025, or 0.00375″ thick walls. For our purposes, single or double wall is ideal. Single wall is typically sufficient for lighter classes, double wall for heavier.

The tubing is ideal for connecting parts. Wings to wing posts. Stabs to stab posts. Prop shafts to prop hubs. You get the idea – anywhere tissue tubes are typically used.

The one down side – nothing we typically use for glue likes to stick to it. There is one pre-step to gluing. Wherever you need to glue it down, you need to coat the tube with the lightest amount of thin cyanoacrylic (CA) you can get away with. Ambroid/Duco stick well to CA.

For wing posts attached to a fuse, a light bit on one side is all you need.

For attaching a wing to a wing post, a bit of glue on the contact surface and on the sides. A bit of balsa triangle will help to anchor the post to the wing.

For a prop spar, you need a bit of CA on just on the inside of the tube, then use the normal celluloid glues. A touch of acetone will loosen it up without fear that the tissue tube itself will turn to mush.

Use a bit aluminum foil as a pot for thin CA and a pin to dip into the CA and apply it to the tubing.

Matching wing posts to the tubing can be done in few ways:

  1. Careful sanding
  2. Use of a draw plate to as a dowel maker for balsa
  3. Use of the tubing itself – Just jam it into the tube and it will remove the excess. (This is my current favorite.)

Cutting the tubing may be a bit tricky at first.

  • For parts that do not require a lot of insertion – i.e. prop spar tubes, I just use sharp scissors.
  • For other parts, it is best to shove a bit of light scrap balsa into the tube, then use a razor blade to cut it. I just use whatever double edge blade I have on hand typically to cut it this way. A sharp single edge blade should also work well.
  • Art Holtzman has offered another way – Insert a numbered drill bit that fits inside and cut with blade around the bit.

A public thanks to Jake Palmer for turning me on to this tubing and also LeoP and Kang Lee for the initial help in learning how to use it.

I also have some for sale – 0.080″ ID single wall tubing that is ideal for F1D VP hubs. See: http://propblocks.com/miscellaneous-stuff/

Statuses

Tony Hebb’s F1D

In Uncategorized on January 27, 2014 by nicholasandrewray


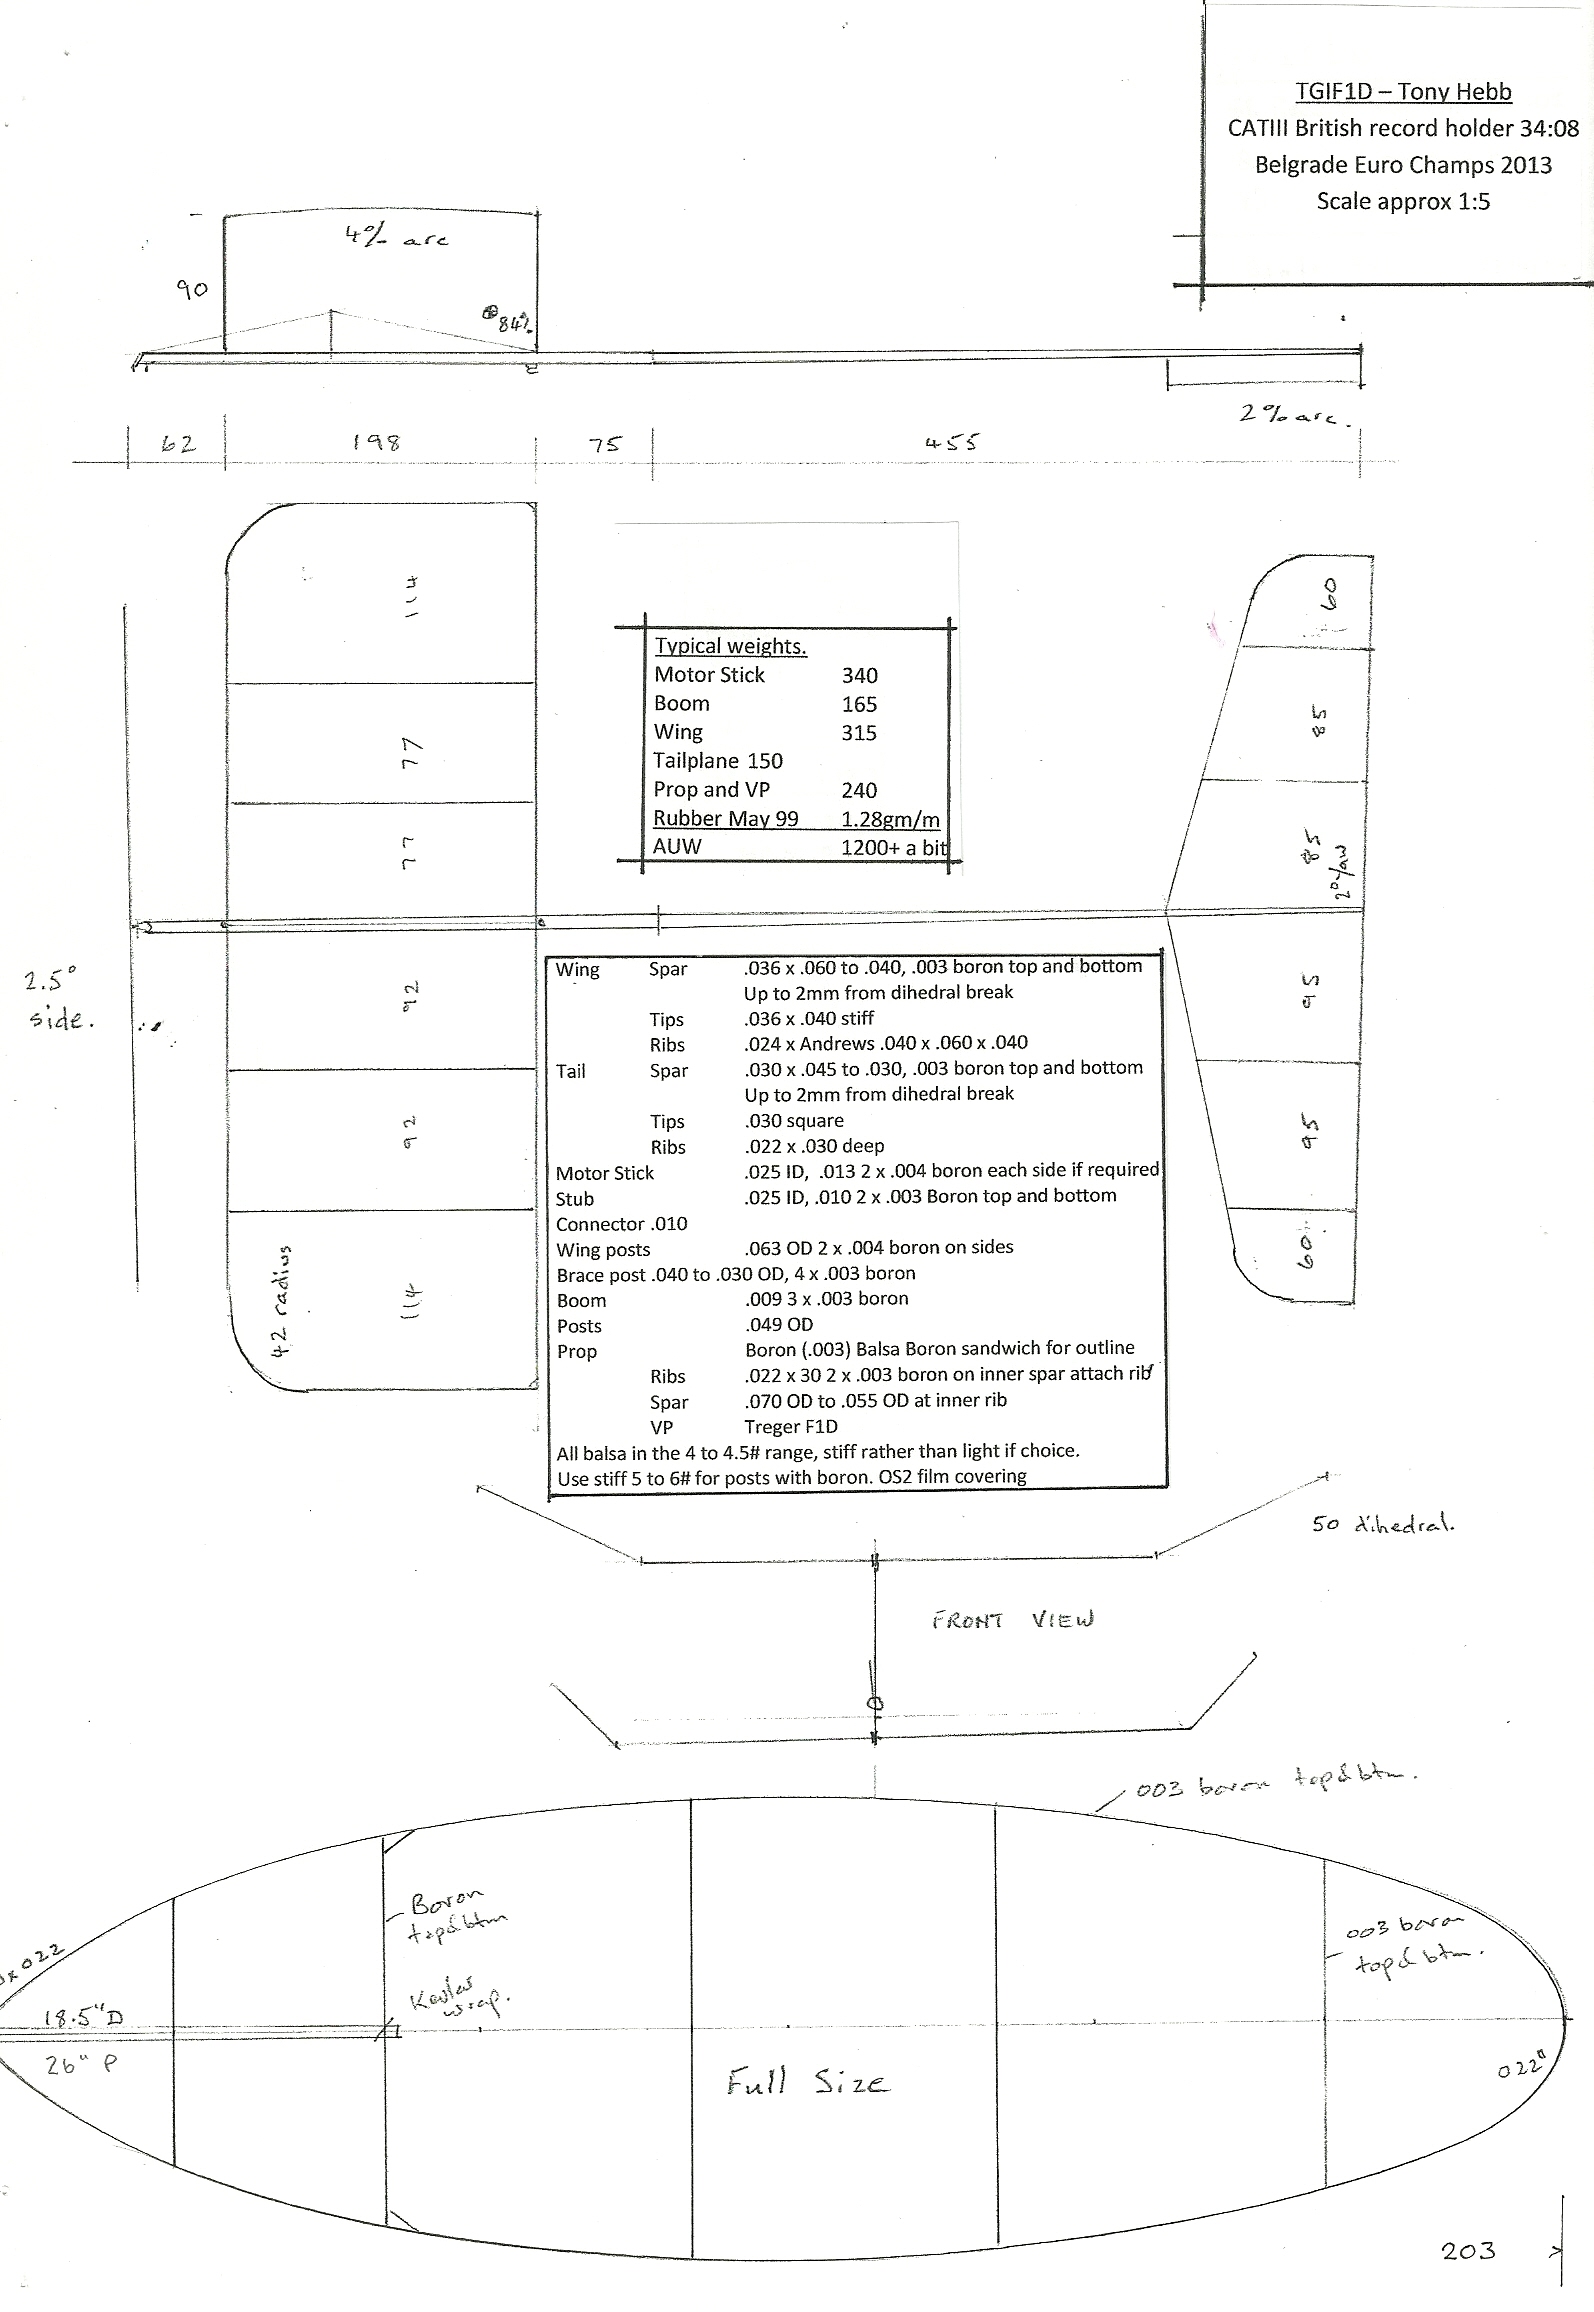
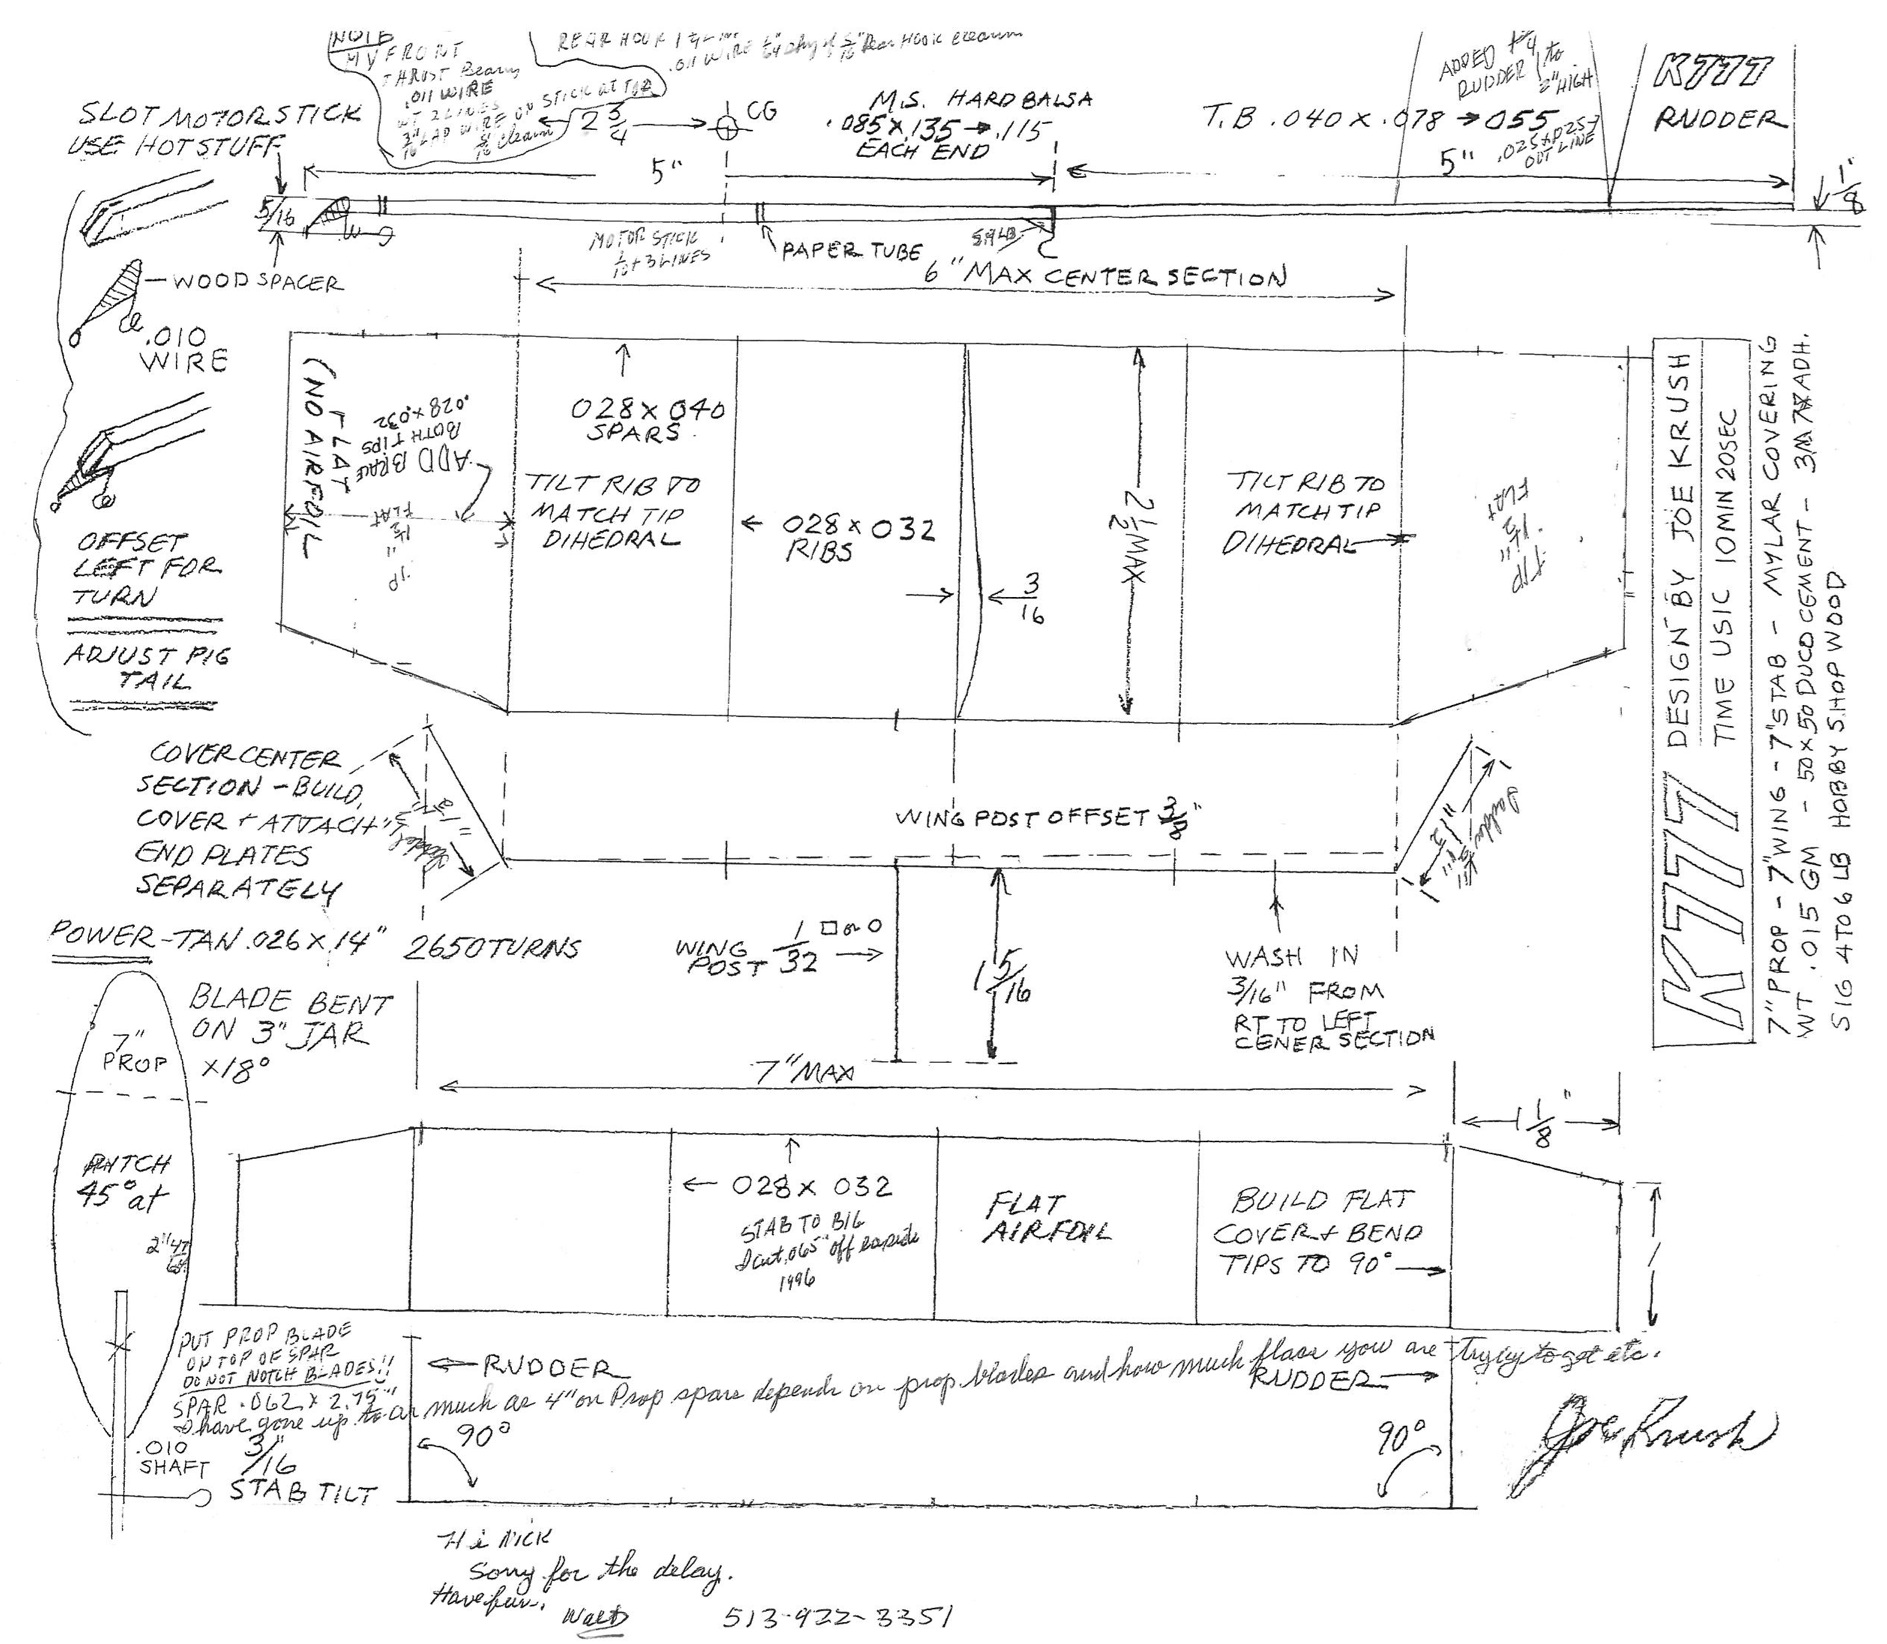
Tony Hebb’s F1DTGIF1D plan0001Click here to download a PDF of Tony’s plan.


Statuses

Indoor flying with Supercaps

In Uncategorized on January 10, 2014 by nicholasandrewray

Indoor flying with Supercaps

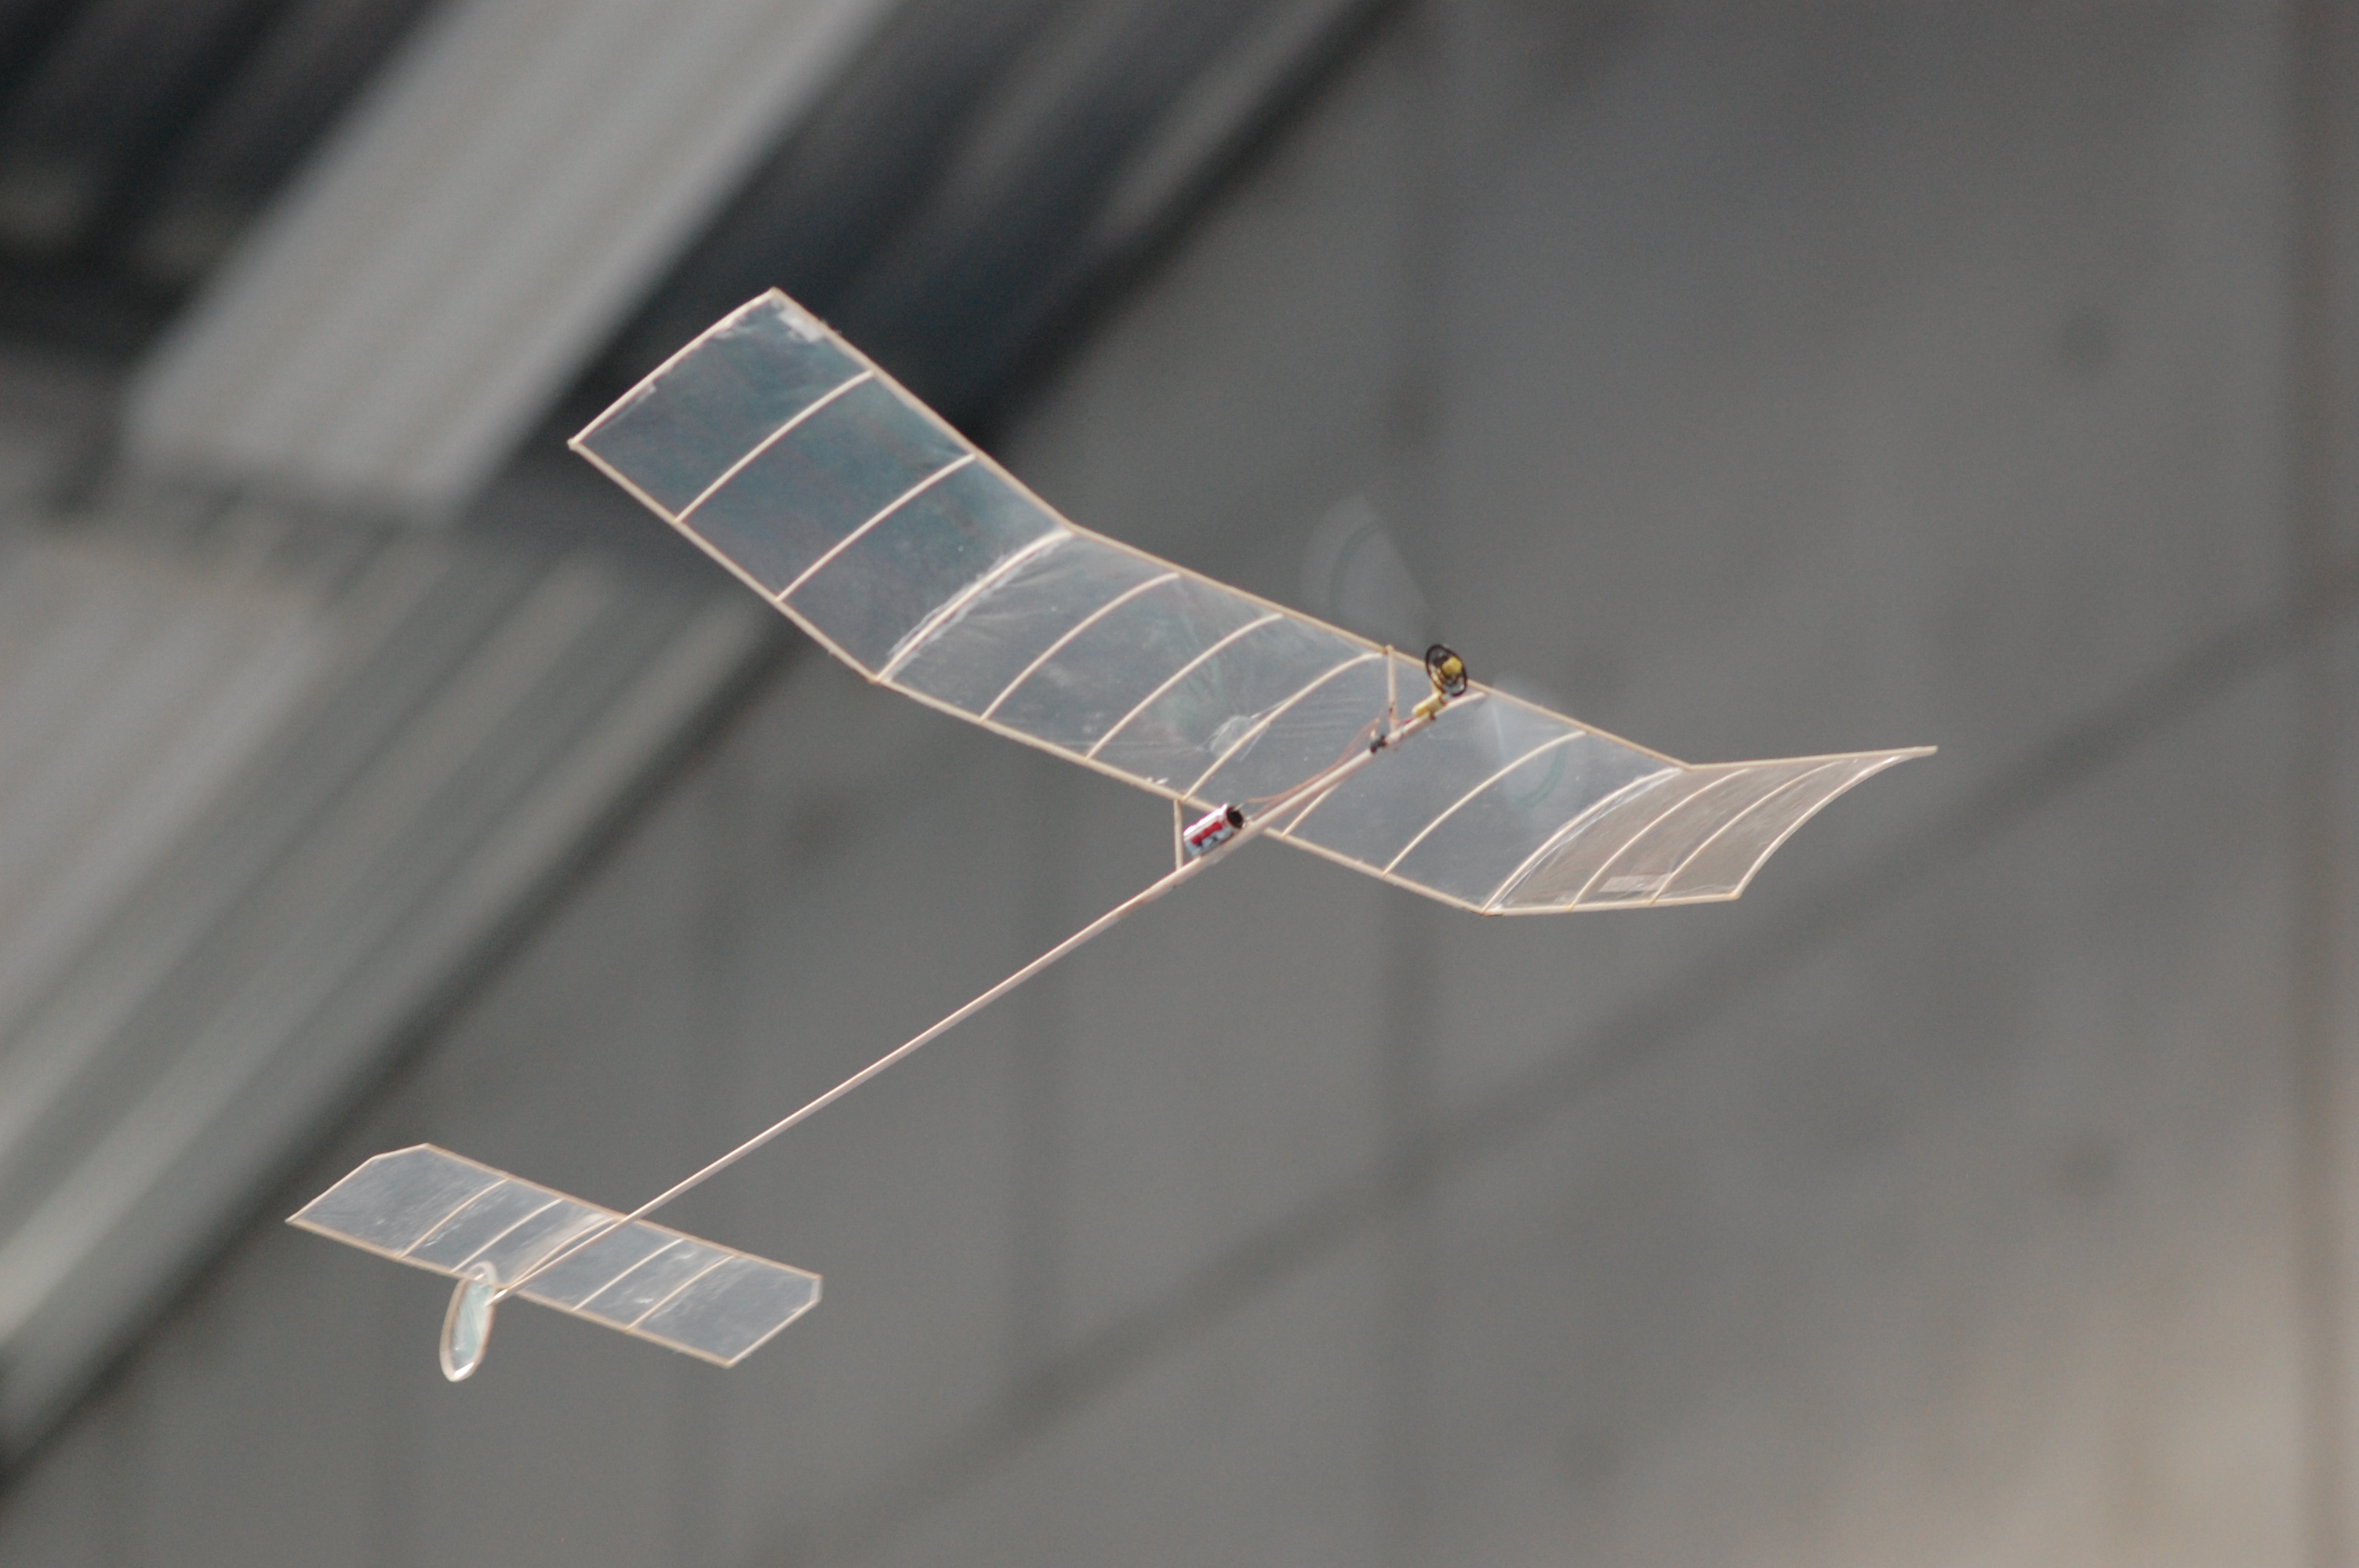
We are a group of 6 or 7 indoor flyers in Southern Germany using the new high density capacitors such as the “Green Caps” from Samwha for powering indoor models. The supercaps have a 5 or 10 Farad capacity and weigh about 2 or 3 grams. If one cuts the legs and removes the plastic coating the caps get about 0.3 gms lighter. Principally, one can use the structure of an F1M or F1L with a lighter fuselage, because the extreme torques caused by the rubber band are missing. The structure should weigh about 1.4 gms and be strong enough to bear 5 or 6 gms in total. The coreless 6 mm pager motor with a resistance of 10 or 30 Ohms weighs 1.3 gms and the 1:6.6 or 1:9 gear another0.7 gm. We also tested 4 mm coreless motors that are also usable but the gear with modul 0.2 is more difficult to handle. The 6 mm types show about 50% efficiency, the 4 mm types only 35-40%. Total efficiency of the drive ranges at about 20%, including propeller and gear losses. Depending on the equipment, the ready to fly weights range from 5.0 to 6.2 gms.

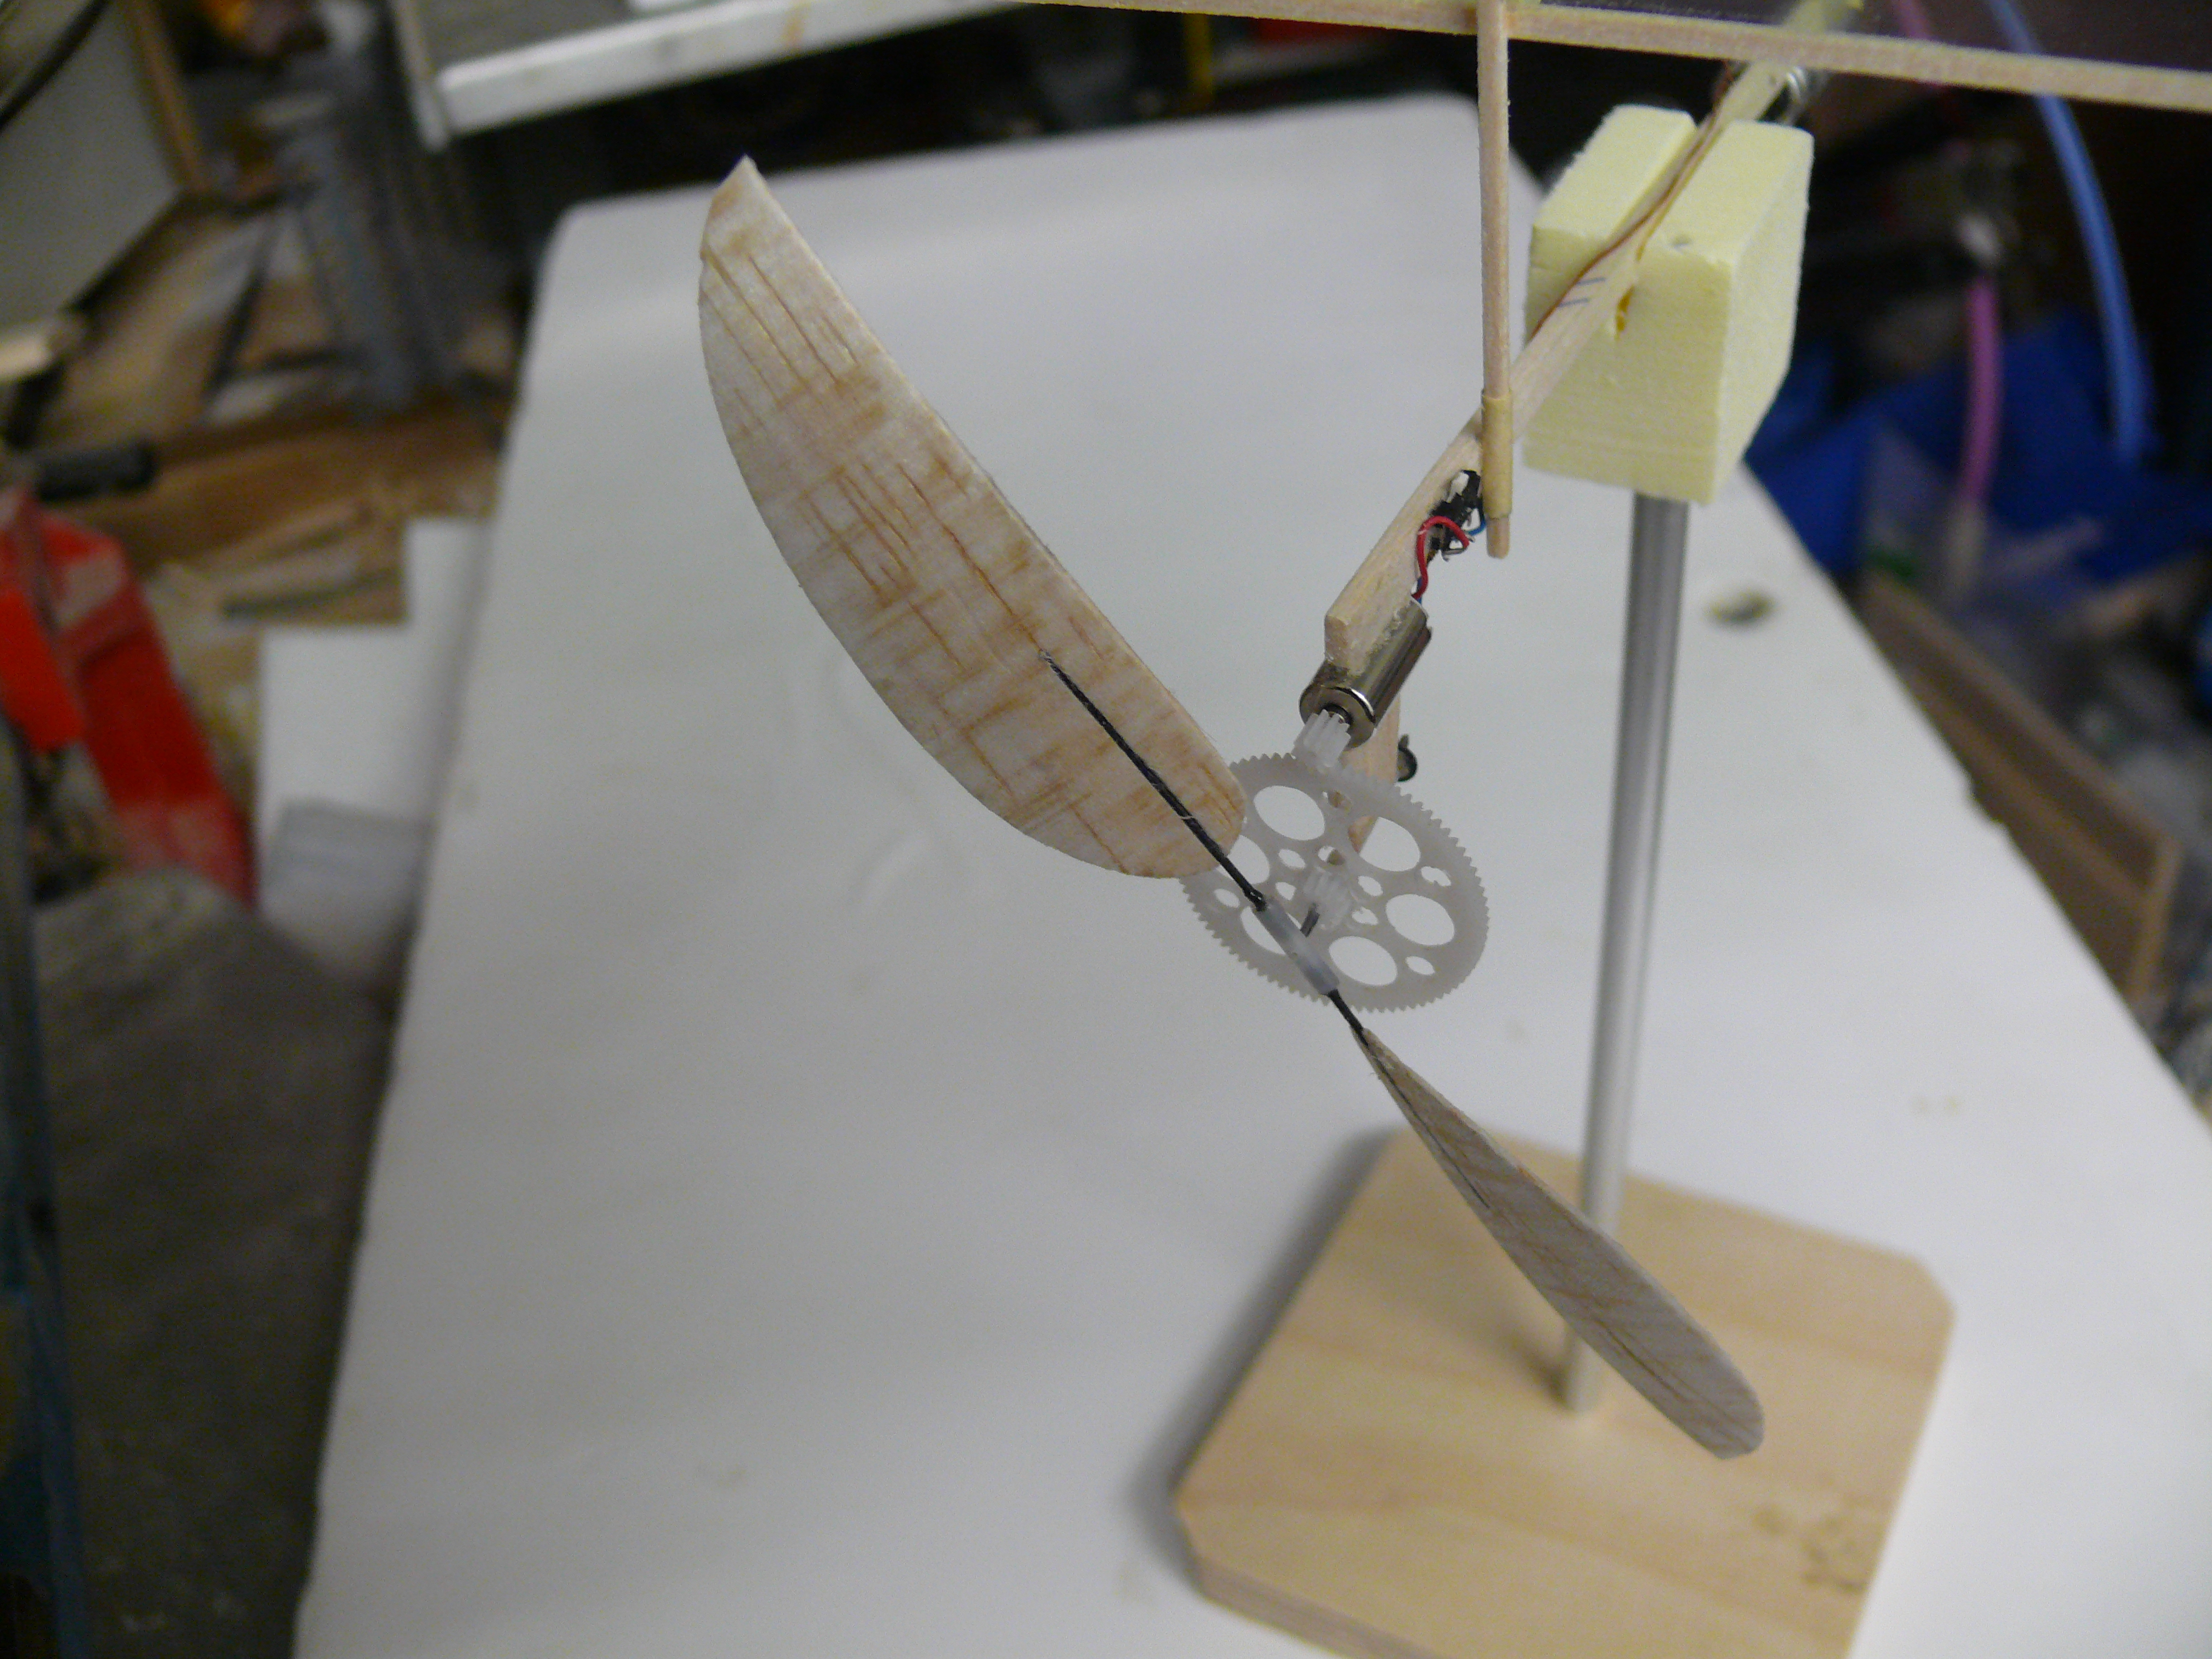
The propeller diameters range from 120 to 135 mm and the pitch ranges from 70 to 110 mm depending on the gear ratio. I use blades made from 0.4 mm C-grain with spars from 0.7 mm CF. Other people make their blades from thin plastic (yogurt) cans.

What are the flight times? We started with 1:30 min and now – one year later – we are at 5:30 min. Theoretically,  with a medium current of 30 mA, a flight time of max. 6 minutes should be  possible. Roland Oehmann flew already 5:40. The green caps with a 2.7 Volts reference value can obviously be loaded up to 3.4 Volts taking no noticable damage. Then, a voltage range from 3.4 to 2.2 Volts is usable. Load times are from 30 to 60 seconds depending from capacity. Note: If the final voltage is reached the current flows another 10 to 20 seconds enhancing the total charge of the cap.

Charging is possible from any power supply that allows for a 3.4 Volts default value. No preresistor is necessary. Some people use a full 4.15 Volts Lithium cell and a silicon diode with the 0.7 Volts gap voltage loss in series. Please mind the high load currents of some Amps in the first seconds. But you can also cut them by presetting an upper current-limit.

Motors and gears come from www.Didel.com

Author: Heinrich Eder, Munich, Germany, eder-h@arcor.de

Pics:

1 The authors "Capino I" driven by a 4 mm coreless motor, gear ratio 1:10 and a 5 Farad Green Cap

1 The authors “Capino I” driven by a 4 mm coreless motor, gear ratio 1:10 and a 5 Farad Green Cap

P1020109

2 “Capino 2” is driven by a 6 mm coreless motor 30 Ohm with a 1:9 gear

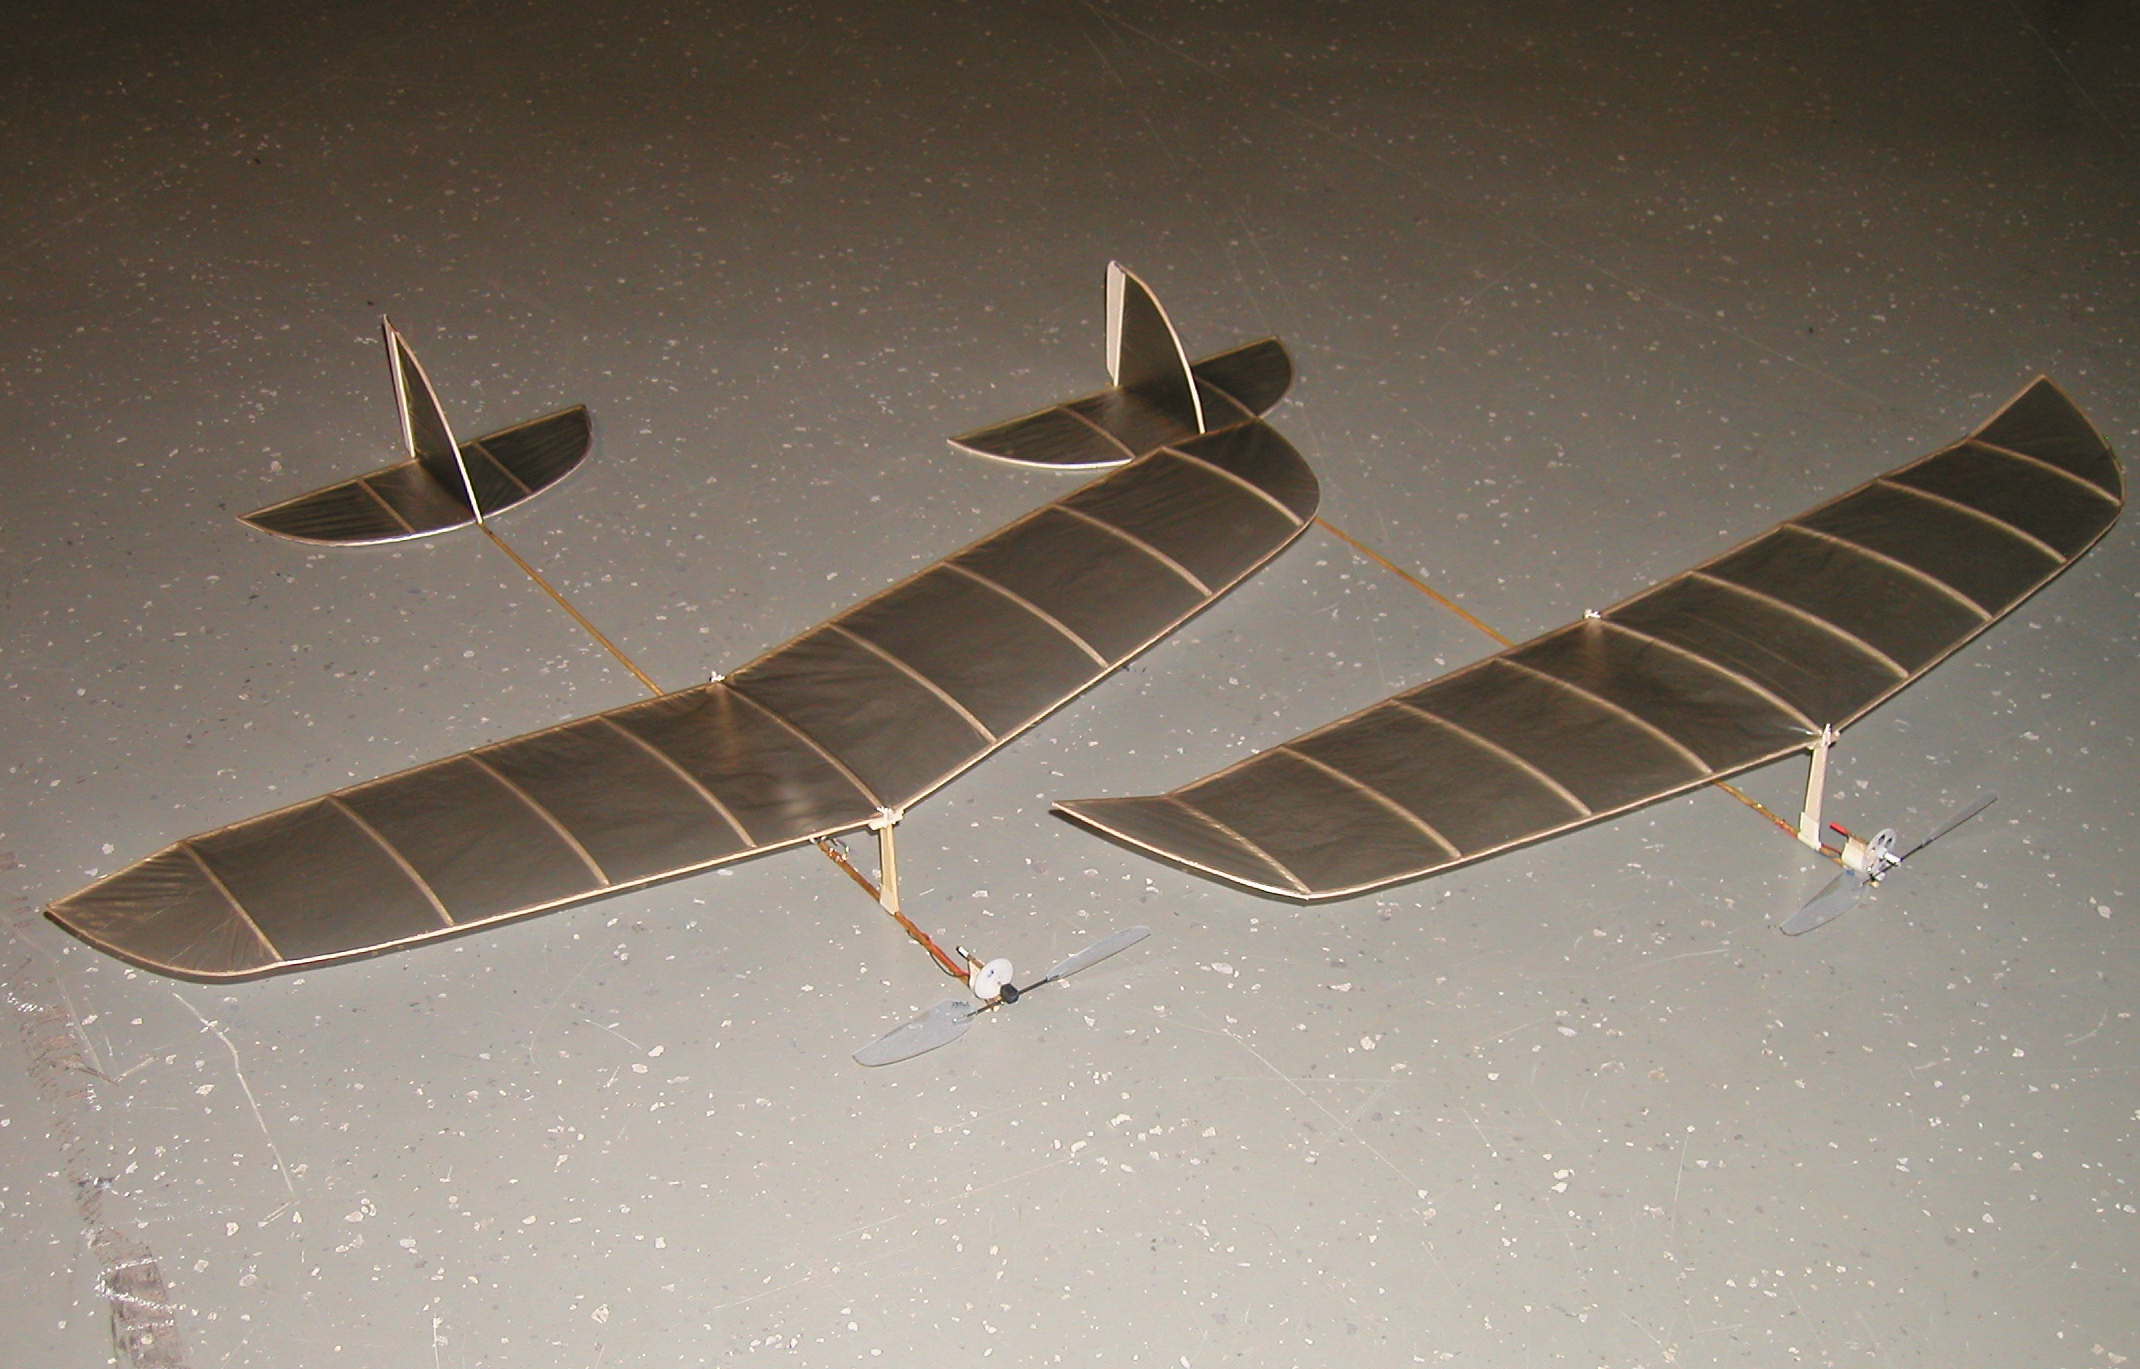
3 The models "Cappy I and Cappy II" from Roland Oehmann, Stuttgart, Germany

3 The models “Cappy I and Cappy II” from Roland Oehmann, Stuttgart, Germany

Statuses

LPP Carbon Prop Spar

In Uncategorized on January 10, 2014 by propblocks

LPP Carbon Prop Spar

By Mike Kirda

Recently I built a Limited Penny Plane to compete in the Bong Eagles contest. I’ve been pretty hard on LPP props in the past – Racine Memorial Hall’s ceiling is quite scrubbable, but I still broke my fair share. Determined to avoid this, I built a very robust prop spar: 7# balsa, 0.125″ center tapered to 0.080″ tip.

On my last flight of the day, the plane hit a railing and broke the prop spar while walking down the wall. It was centered on an open door and flew into the next room where many contestants were set up. All had a good laugh as my ‘Korda Wakefield’ continued to bang around the ceiling just out of reach for the next couple of minutes.

I wasn’t very happy to be honest – I kept thinking “Stupid Spar”. I thought back to Kang Lee’s Carbon VP hub and the carbon tube it used and wondered how well it would work…

The carbon tube is very strong and the blades needed less support than I imagined. I built a couple of new props using the carbon tube, trying them out at the next flying session and they worked very well.

One bit about carbon: Be careful around the dust. I use a vacuum to keep it down, plus use a particulate mask if cutting it indoors. Outdoor might be a better option. All cuts are made with a Dremel and diamond cutoff wheel.

To make the carbon spar, cut a length of 0.039″ carbon tube ~4″ long.

Alternatively you might just want to drill the hole 2″ from the end of the tube before cutting it off. This way if you goof up, you only lose 2″ instead of 4.

A bit of experimentation on length here might be best. At the center, drill a hole through using a #80 drill bit on a drill press. This fits a 0.013″ prop shaft perfectly. Alternatively a #78 or #79 bit should work if you want to use 0.015″ music wire instead.
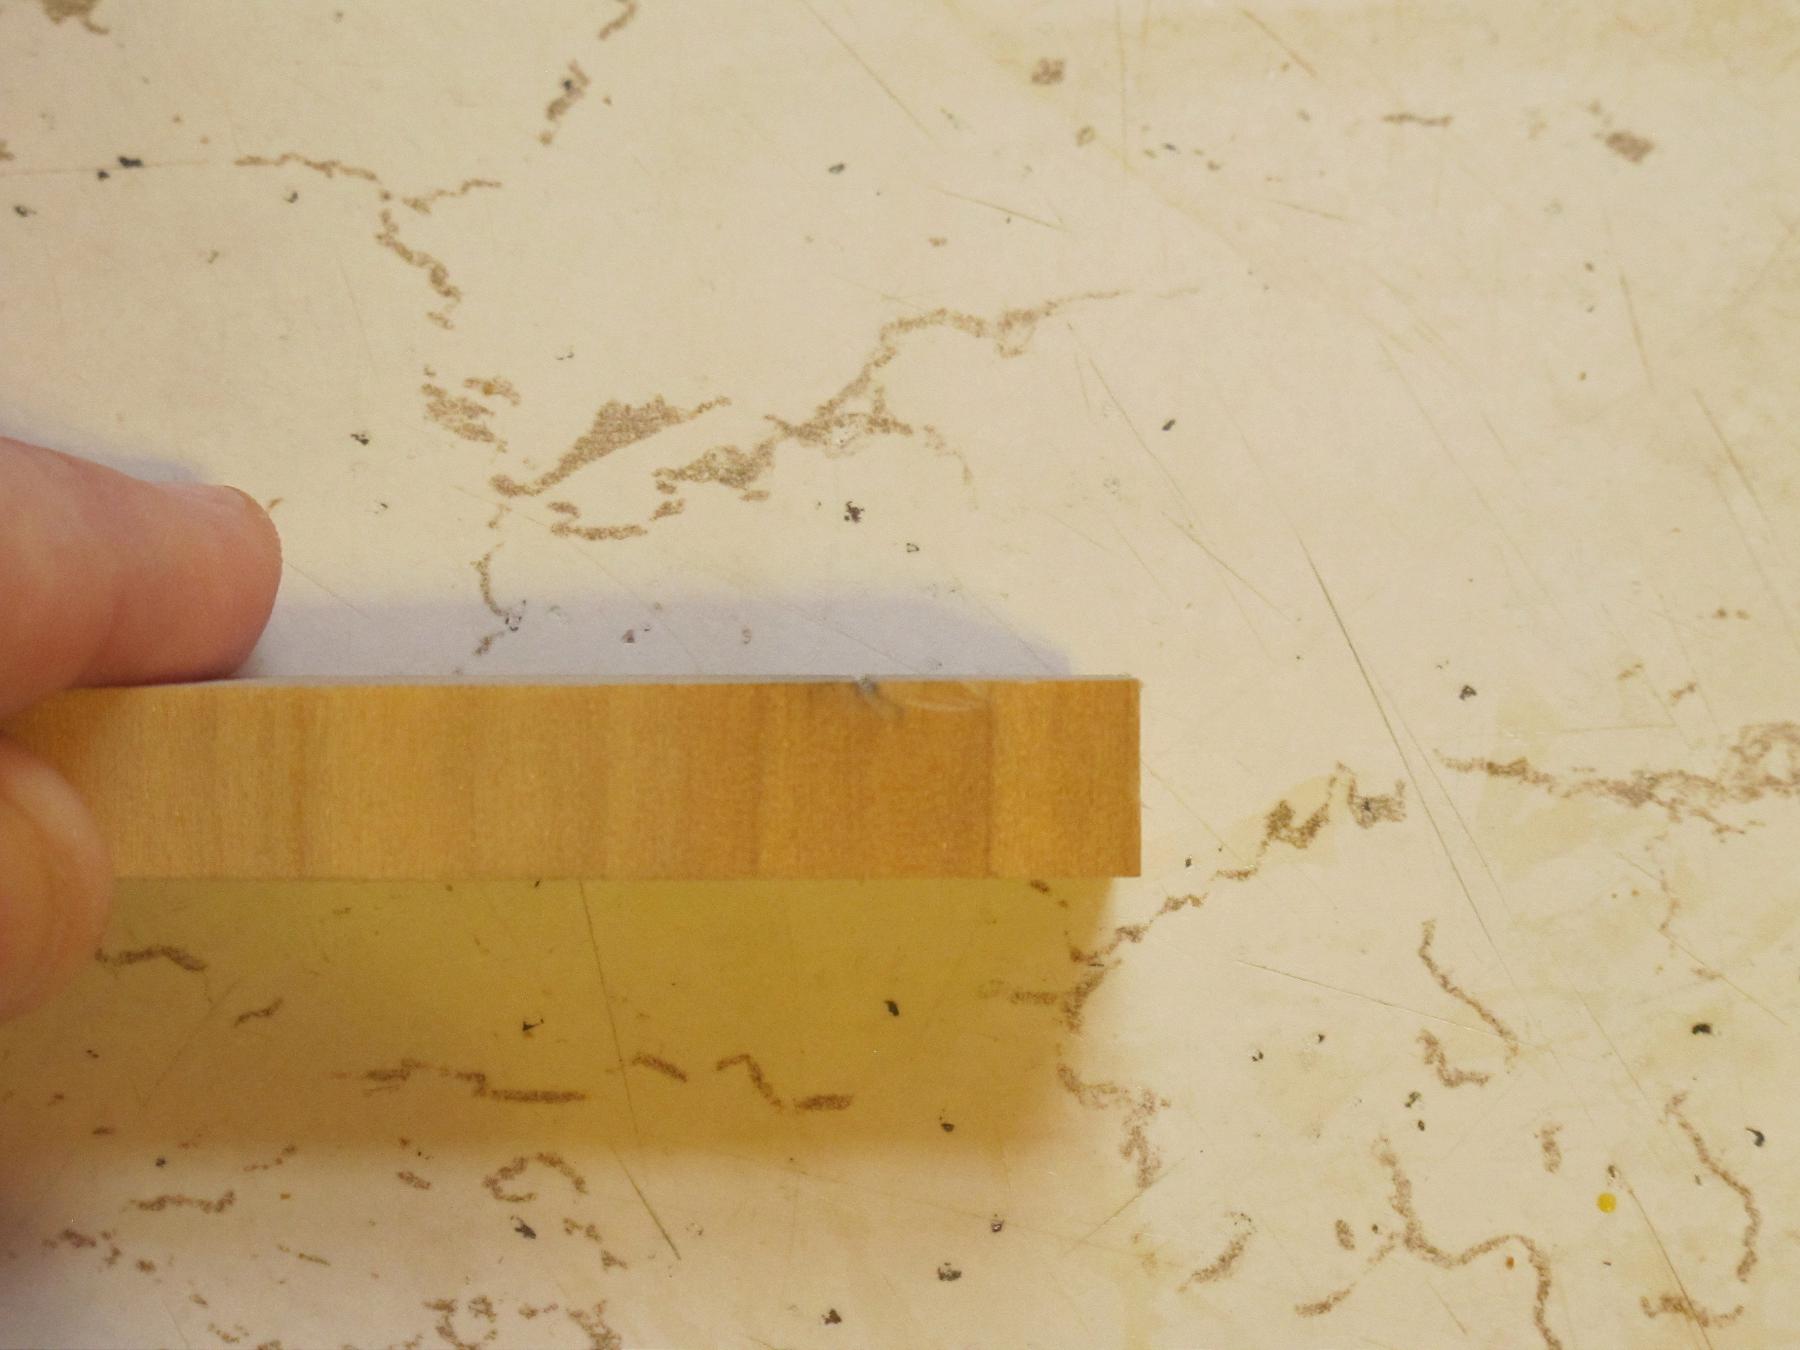
The best way to drill the hole is to lock the tube tightly into a 0.040″ slot.

You can purchase a router bit this size and feed a bit of wood through a router table (or drill press very slowly) to get the slot cut. Alternatively a bit of 1/16″ ply base with some 1/32″ ply to make a 0.040″ gap would work.

Next I drill another hole about 1/8″ away from the center, drilling just to the center of the tube. You can bend the prop shaft over to go into this hole. A bit of Kevlar thread and glue will bind it together. Just add a Teflon washer and rubber hook to your liking.

Next put the the spar into your prop pitch fixture. Add glue (Ambroid) directly to the carbon tube, then put the blade on top. Quickly tape the blade in place with blue tape. The spar may also be taped to the underside of the blade. Let dry completely, then check the pitch. Sometimes the glue shrinkage will change the pitch. A bit of acetone to loosen it, twist a bit more in the opposite direction, then let dry. Keep at it until you get it right. Adding plasticizers to the glue may help.

CST or ACP will carry the 0.039″ carbon tube. You may be able to order through a local hobby shop.

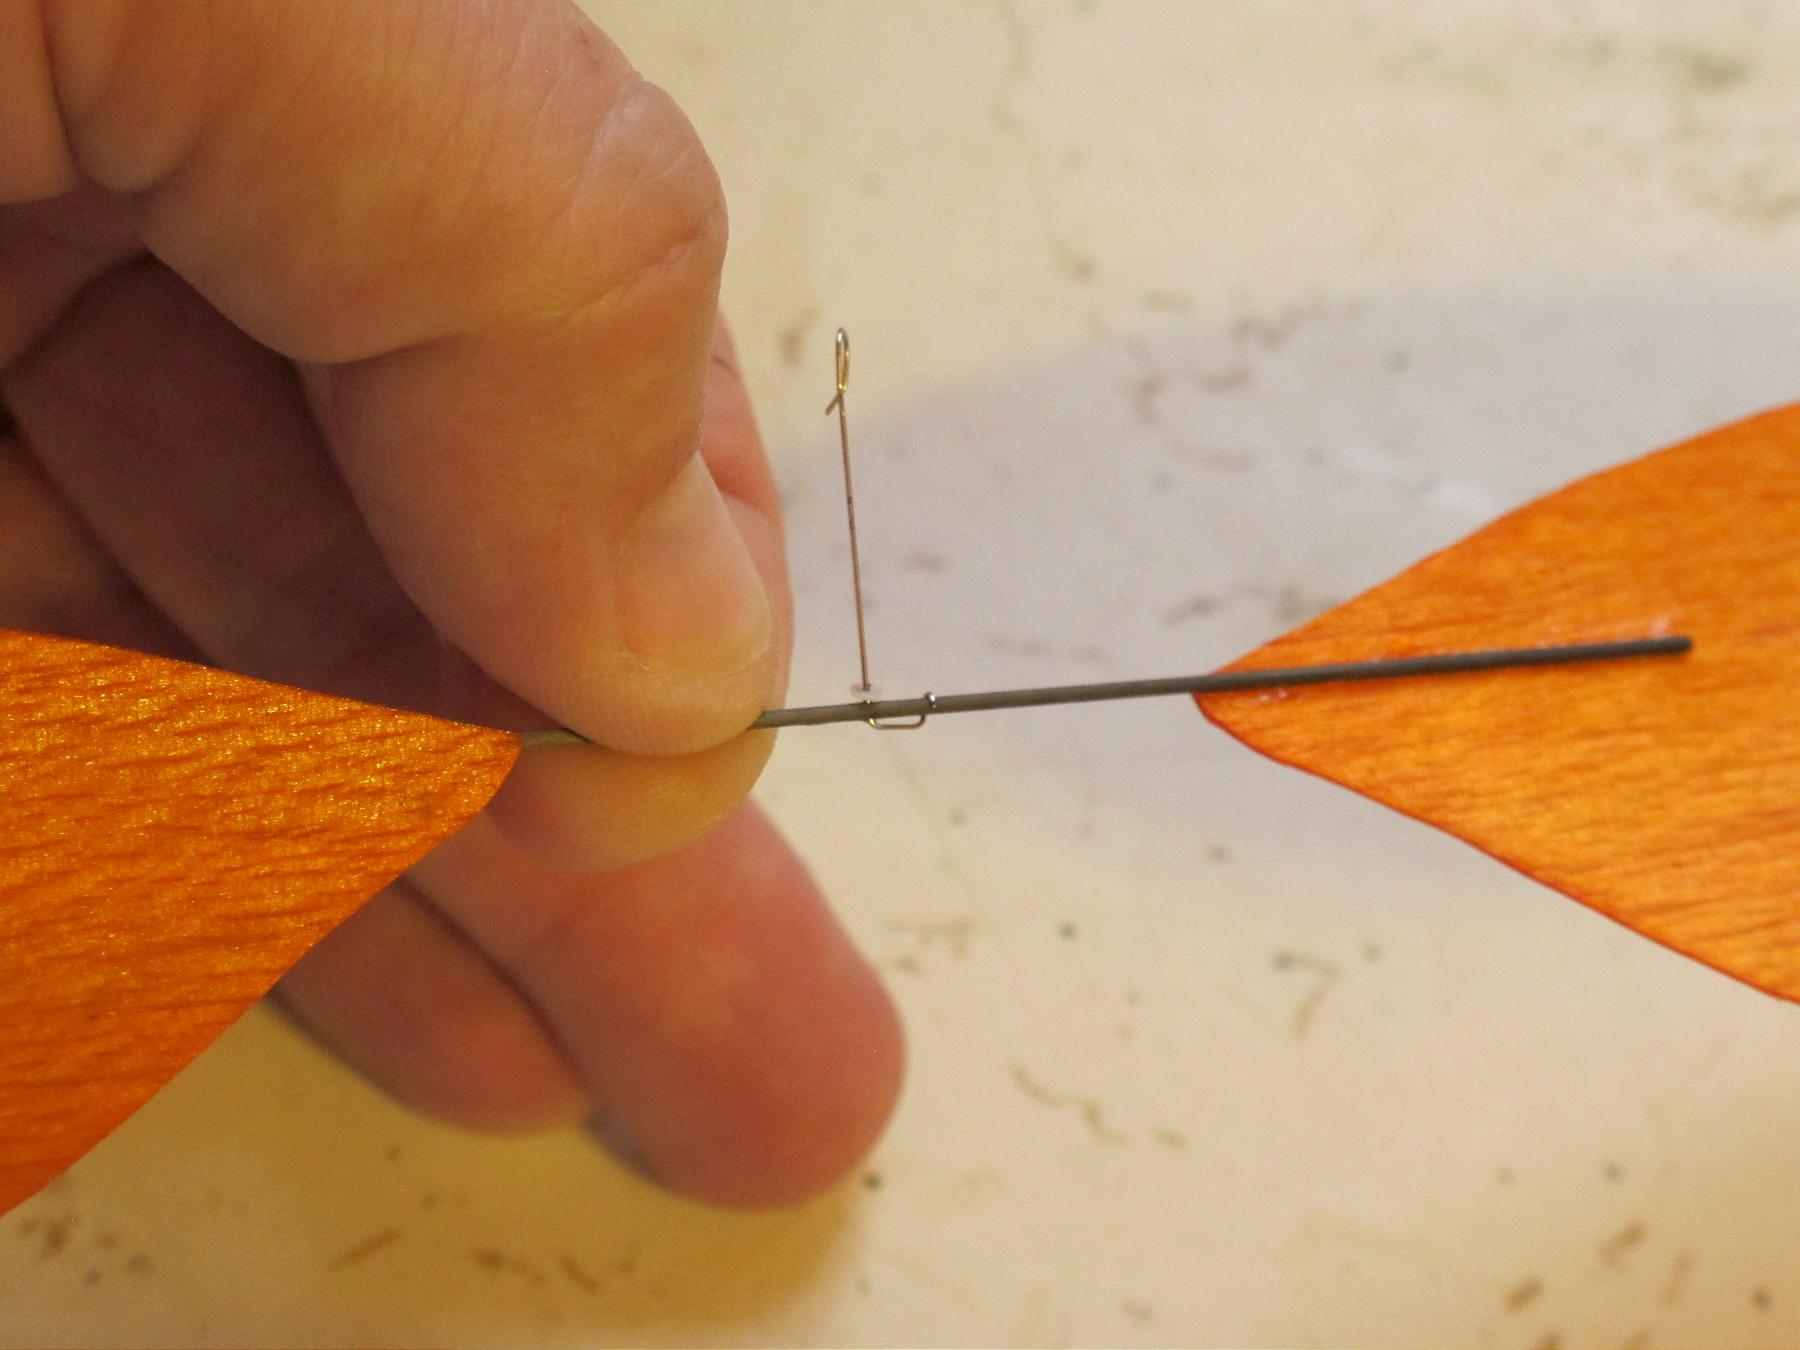
Slot for drilling jig

Slot for drilling jig

Side view of slot for drilling jig

Side view of slot for drilling jig

Tube pushed into place for illustration

Tube pushed into place for illustration

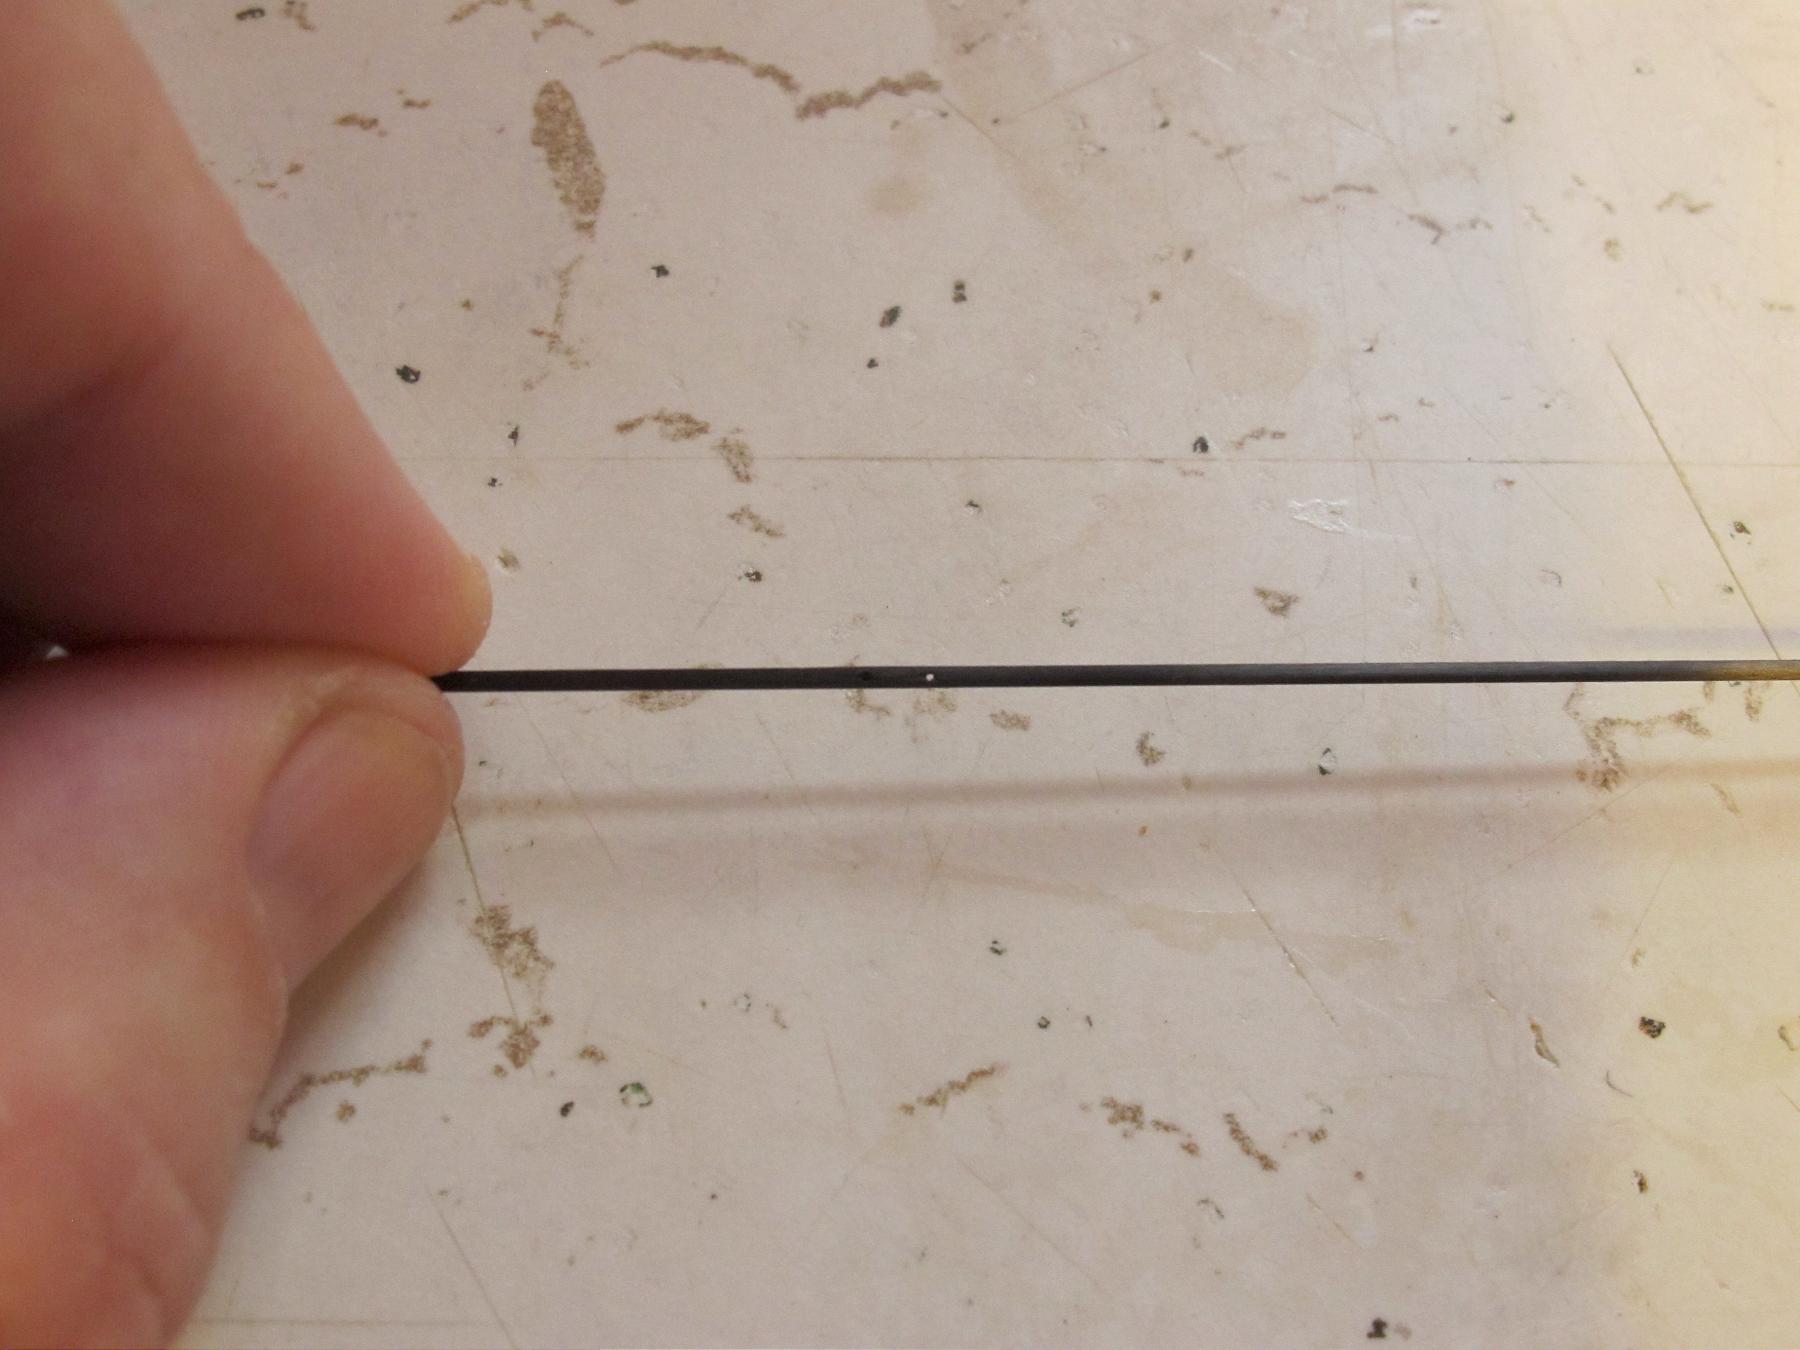
Holes from top

Holes from top

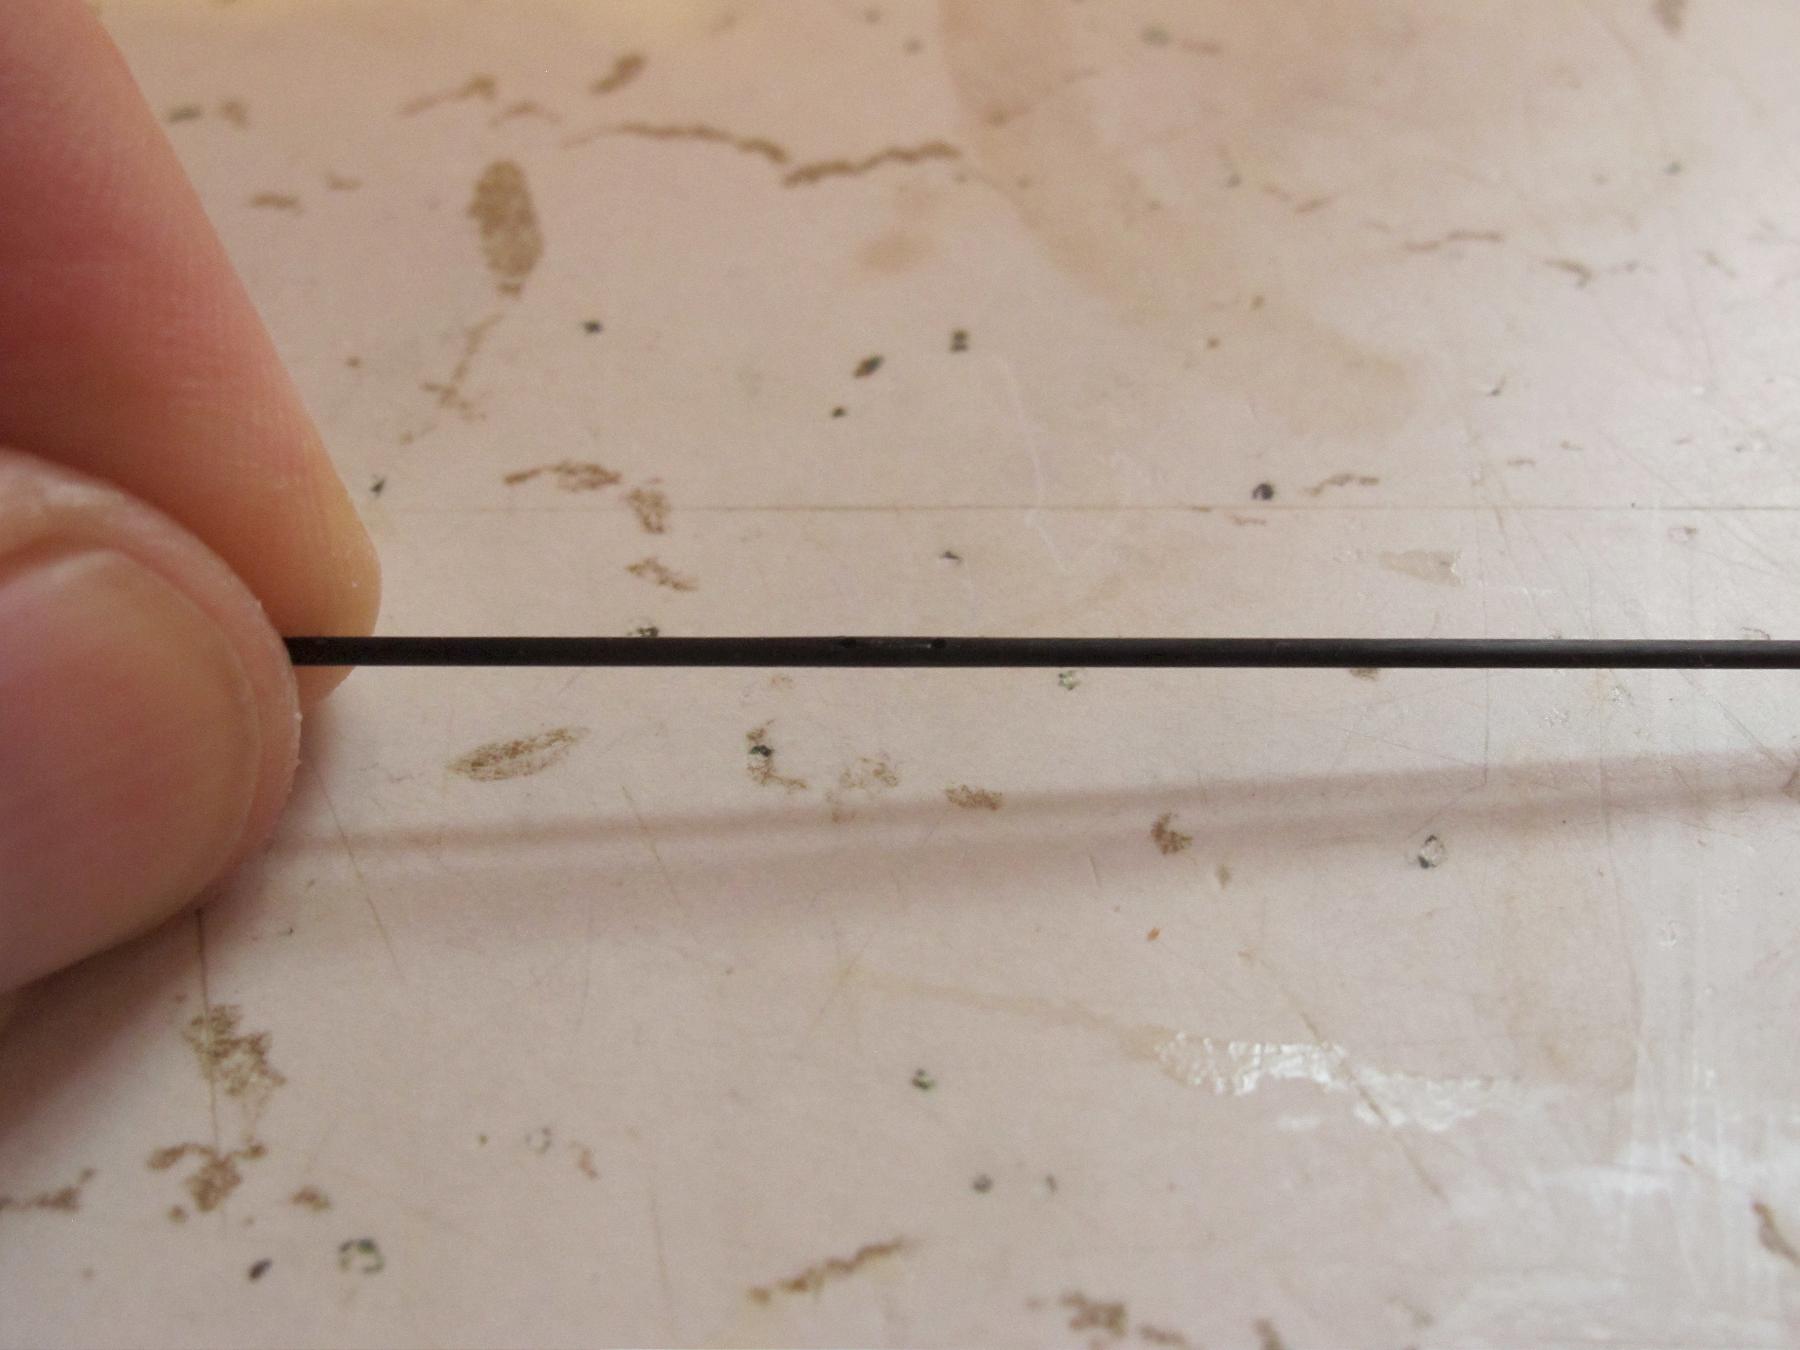
Tube turned slightly to show both holes

Tube turned slightly to show both holes

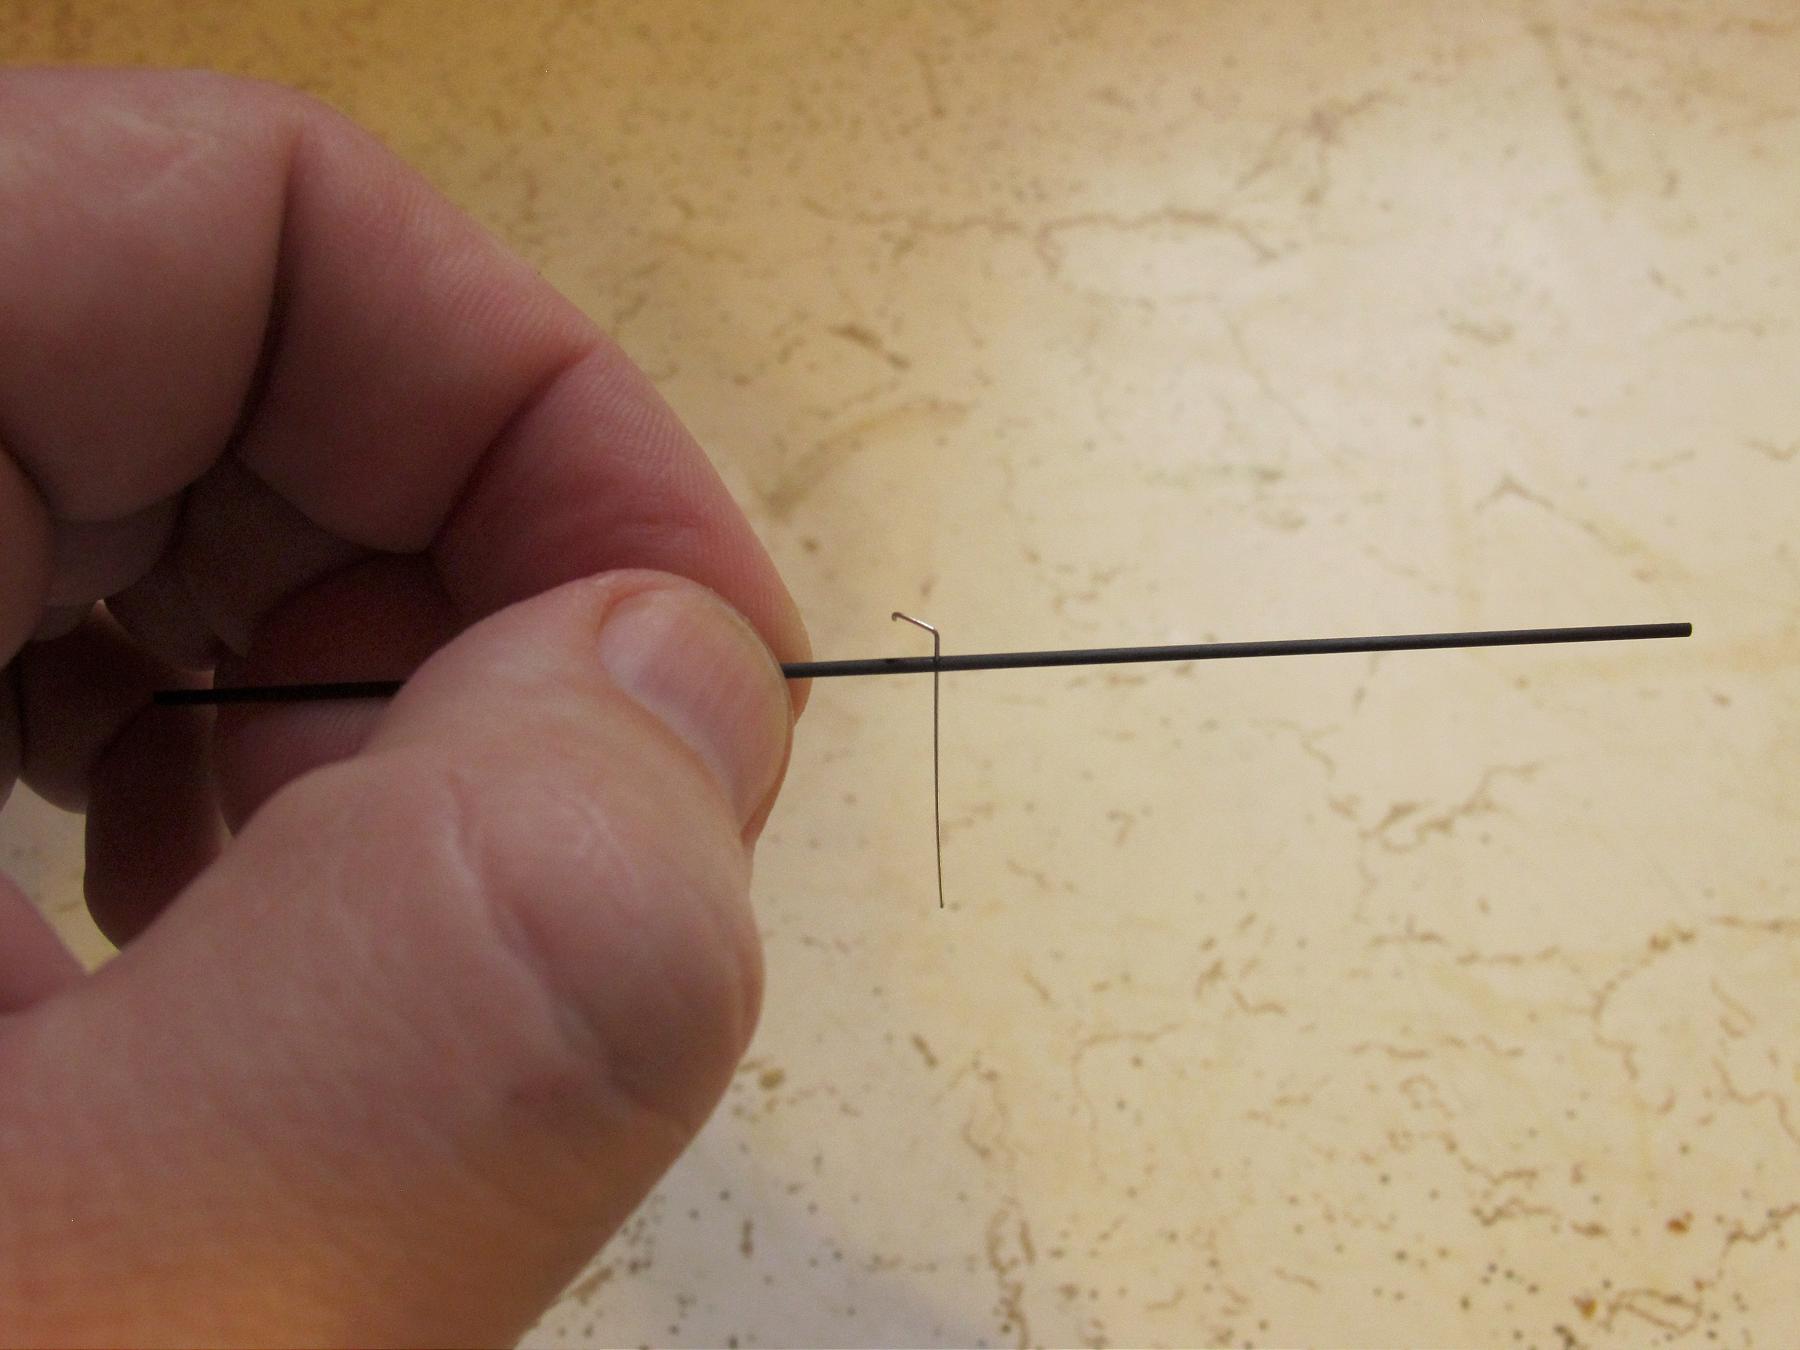
Prop shaft inserted

Prop shaft inserted – Not aligned to show hole.

Alternative prop shaft holder does not require second hole

Alternative prop shaft holder does not require second hole

Spar glued onto prop blade

Spar glued onto prop blade

Statuses

Walt Van Gorder’s Ministick

In Uncategorized on December 18, 2013 by nicholasandrewray

Walt Van Gorder’s Ministick

Van Gorder 1

Van Gorder 2

Click here to download a copy of Walt’s Plan.

Statuses

2014 International Indoor Postal Contest

In Uncategorized on December 2, 2013 by nicholasandrewray

3612525The links posted above are not encoded correctly. Please use the link posted below instead to download information about the contest.

https://indoornewsandviews.com/wp-content/uploads/2013/12/postal_contest_2014.pdf

Statuses

Three Reflections on the Life of Tony Italiano

In Uncategorized on November 21, 2013 by nicholasandrewray

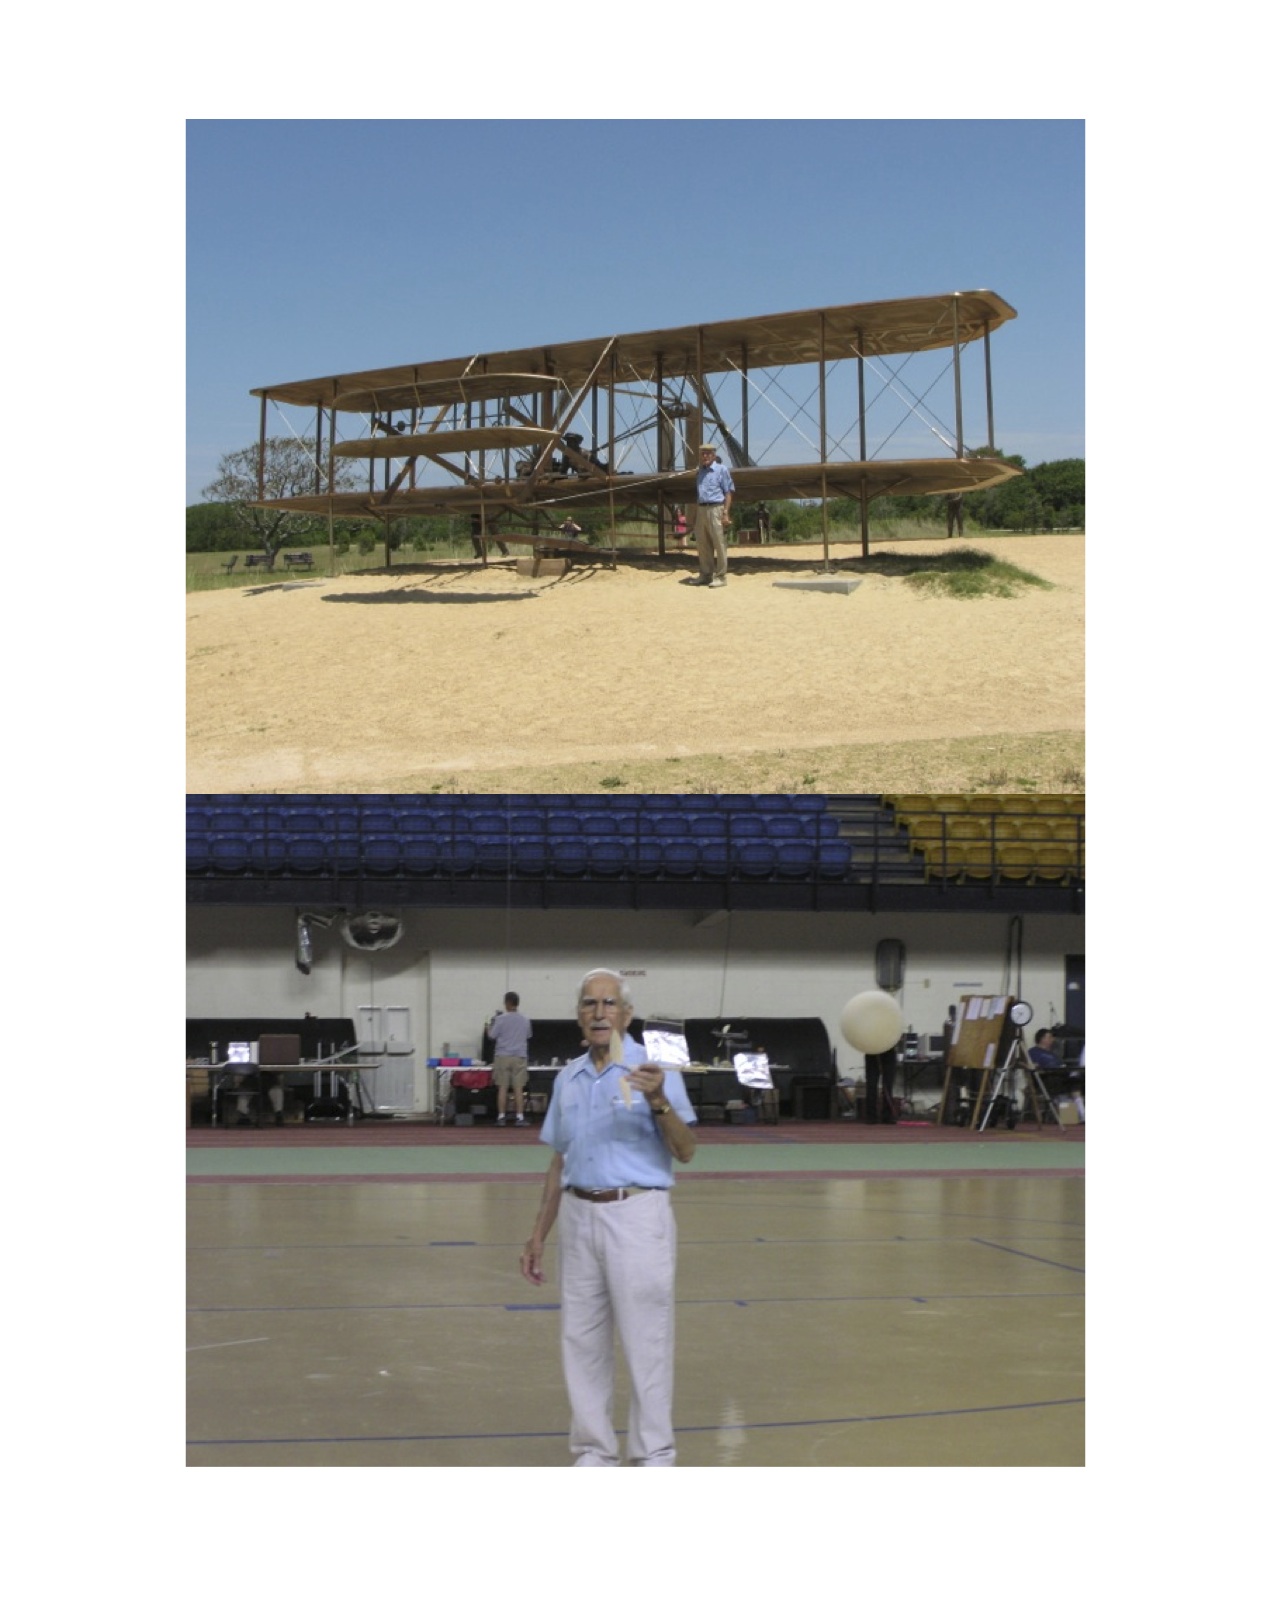
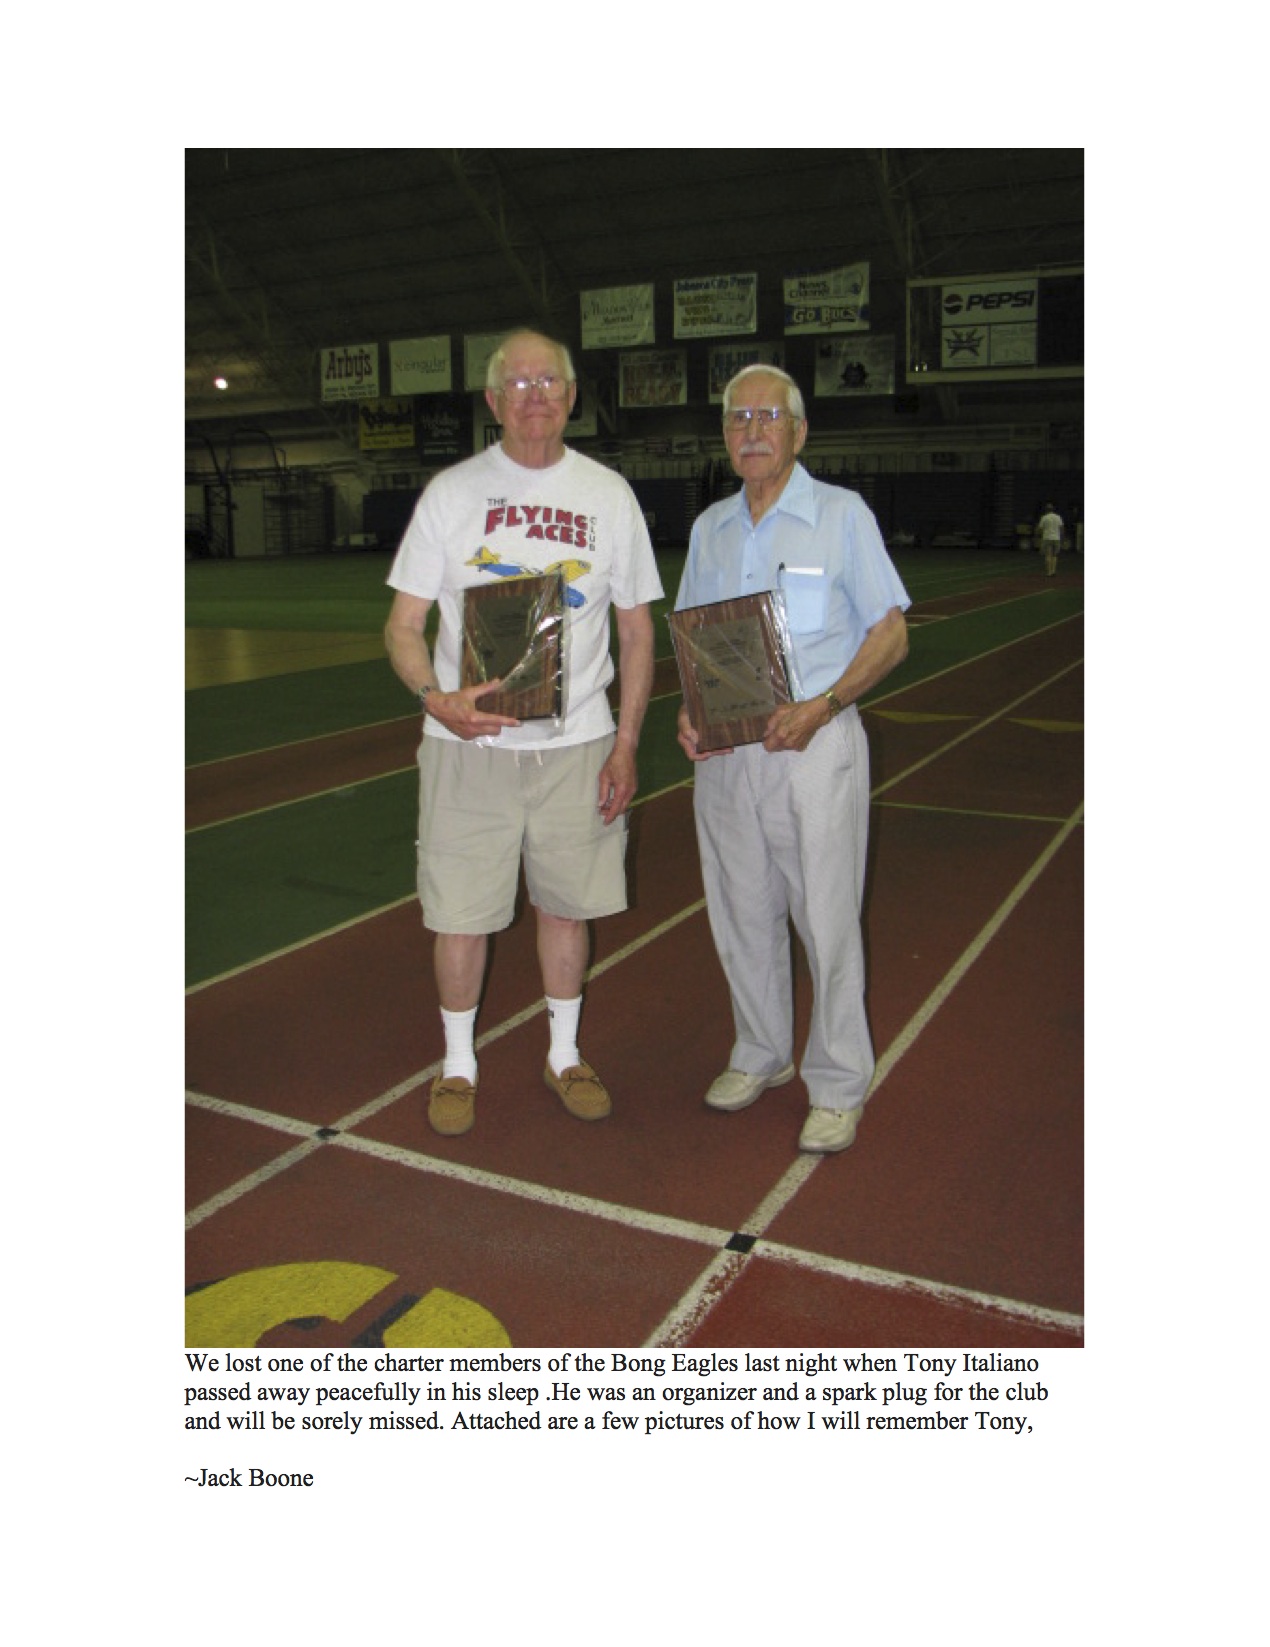
Three Reflections on the Life of Tony Italiano  Tony 1 Tony 2Tony 3 Tony 4 Tony 5

Statuses

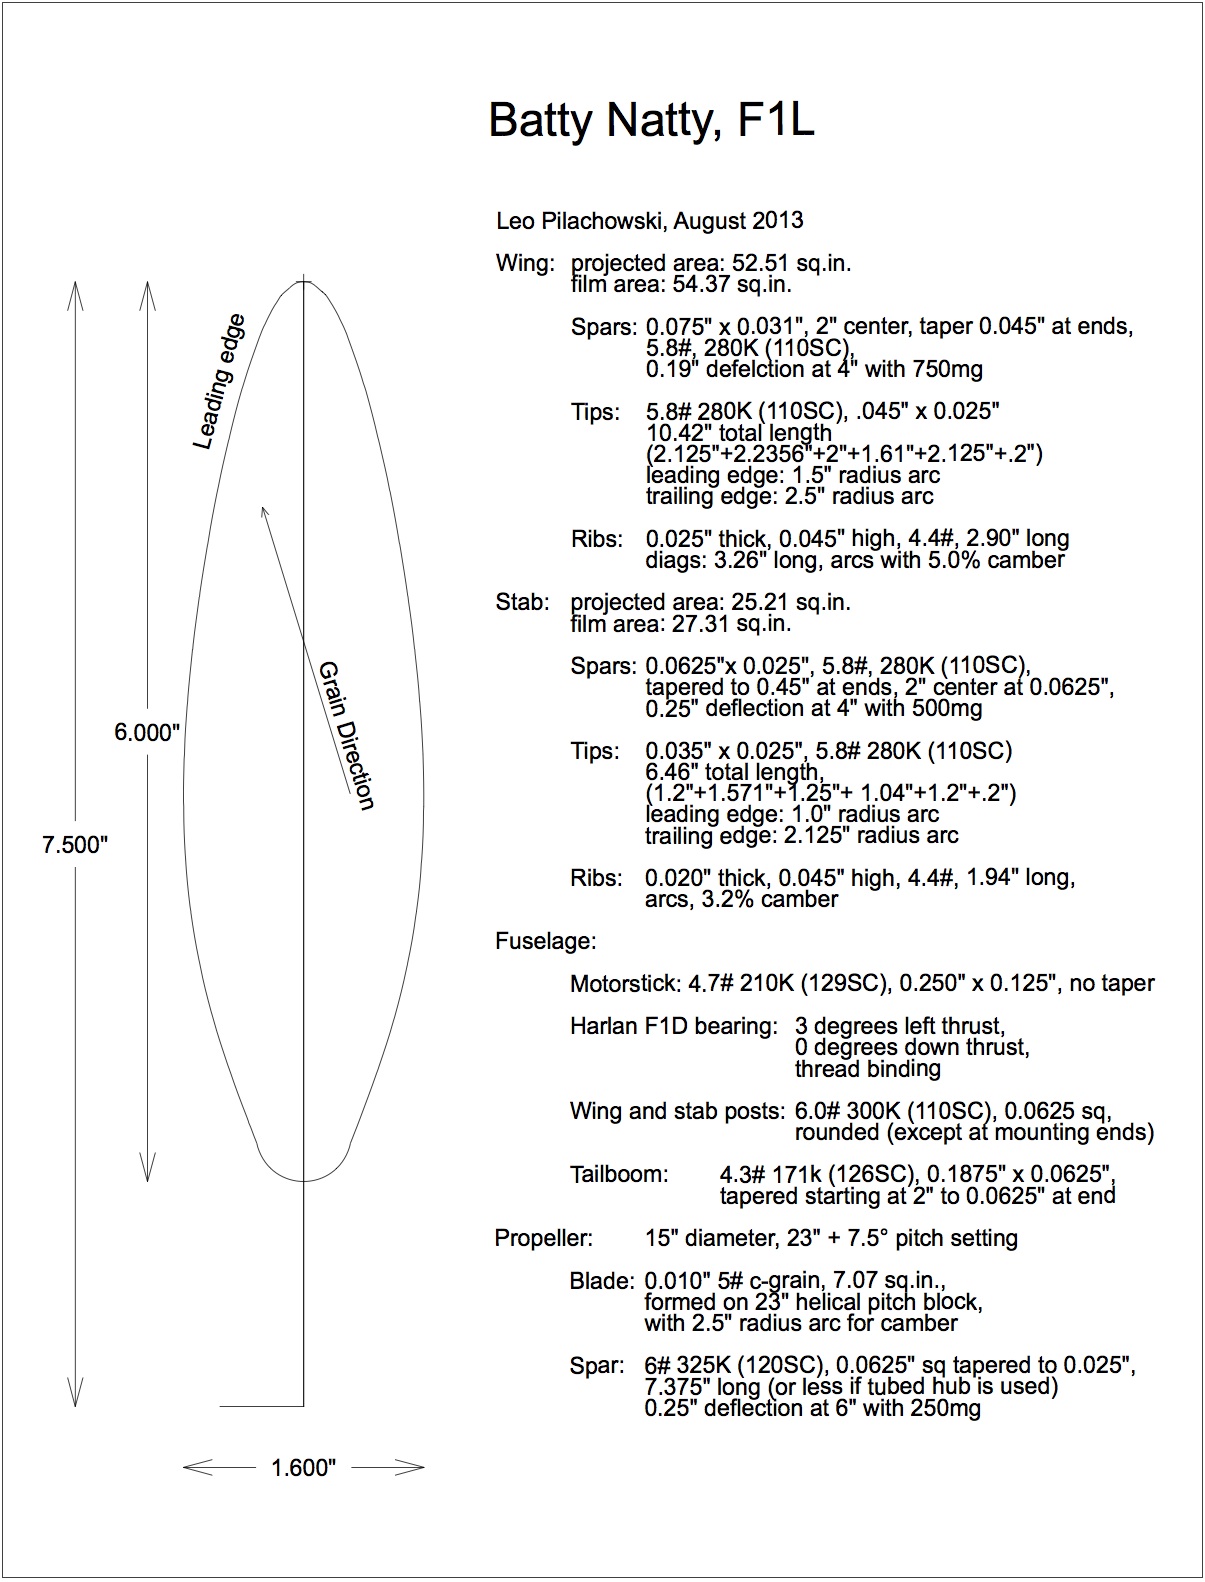
Leo Pilachowski’s F1L

In Uncategorized on November 5, 2013 by nicholasandrewray

Leo Pilachowski’s F1L

P1

P2Click here to download a letter size PDF of Leo’s plans and here to download a full scale copy of the plans.

P3

P4